Share

Skiing

Easy Ski Tricks For Beginners | 10 Freestyle Tricks To Get You Started

Mix up your skiing by learning these ten easy ski tricks for beginners

Mastering the following beginner ski tricks might not make you the next Candide, but they’ll certainly pump your style points while you’re out shredding the pistes with your mates. And, yes, learning freestyle skiing can at first feel like a daunting task at first, but, by slowly progressing through the following ski tricks, we bet you’ll be brimming with confidence before you can say twin tips.

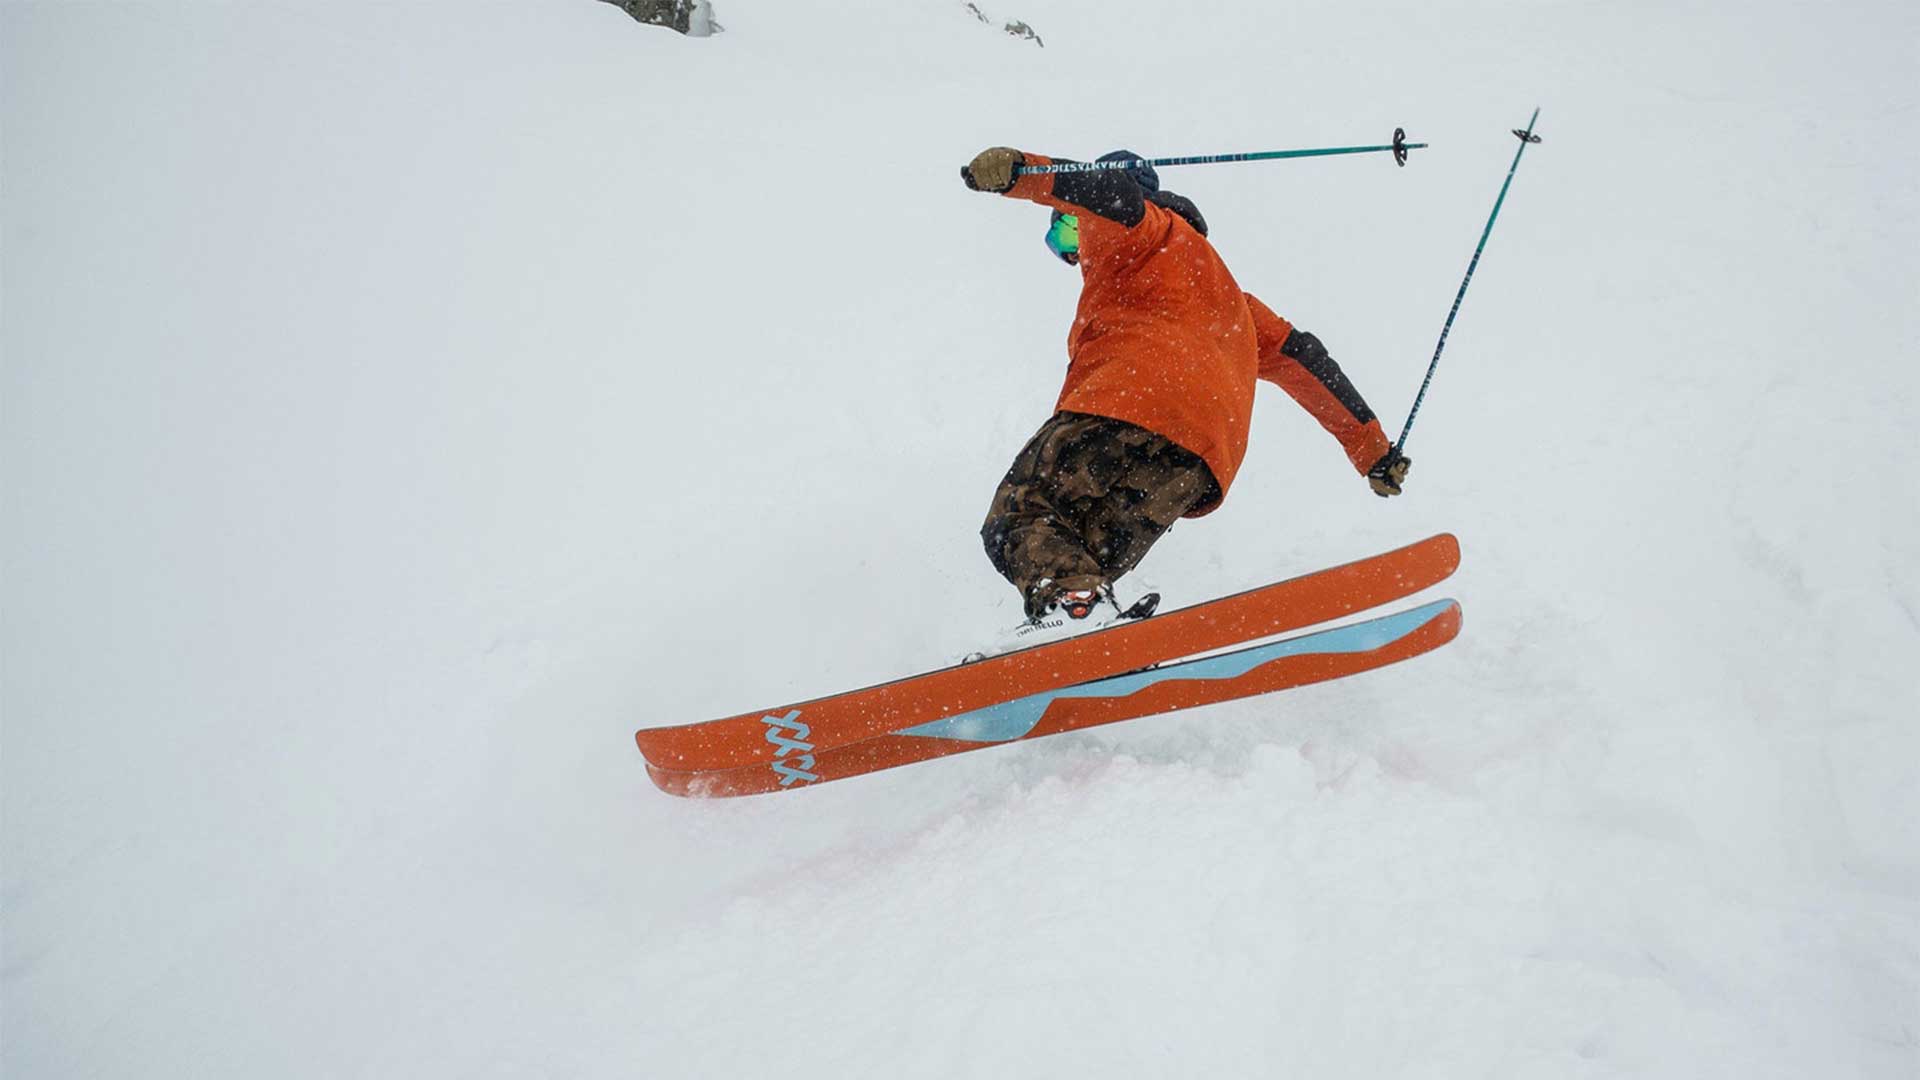
Pop (aka straight air)

The most underrated (but most important) skill you can master.

Flex your ankles, knees, and hips as you ski up the kicker (it can help to think about pressurising your shins against your boot buckles). As you approach the take-off, release the pressure by extending your ankles, knees, and hips.

If this sounds simply like jumping to you, that’s because it is – you do actually need to jump off the kicker in order to remain balanced in the air. As a former coach once told me “if you do nothing, the jump controls you. If you pop, you take control of the jump.”

Tips

  • Think about feeling the kicker underneath the soles of your feet and pushing off it. This helps achieve the ankle, knee, and hip extension required for a strong pop (and will help you avoid absorbing the jump, which happens when you remain in a flexed position).
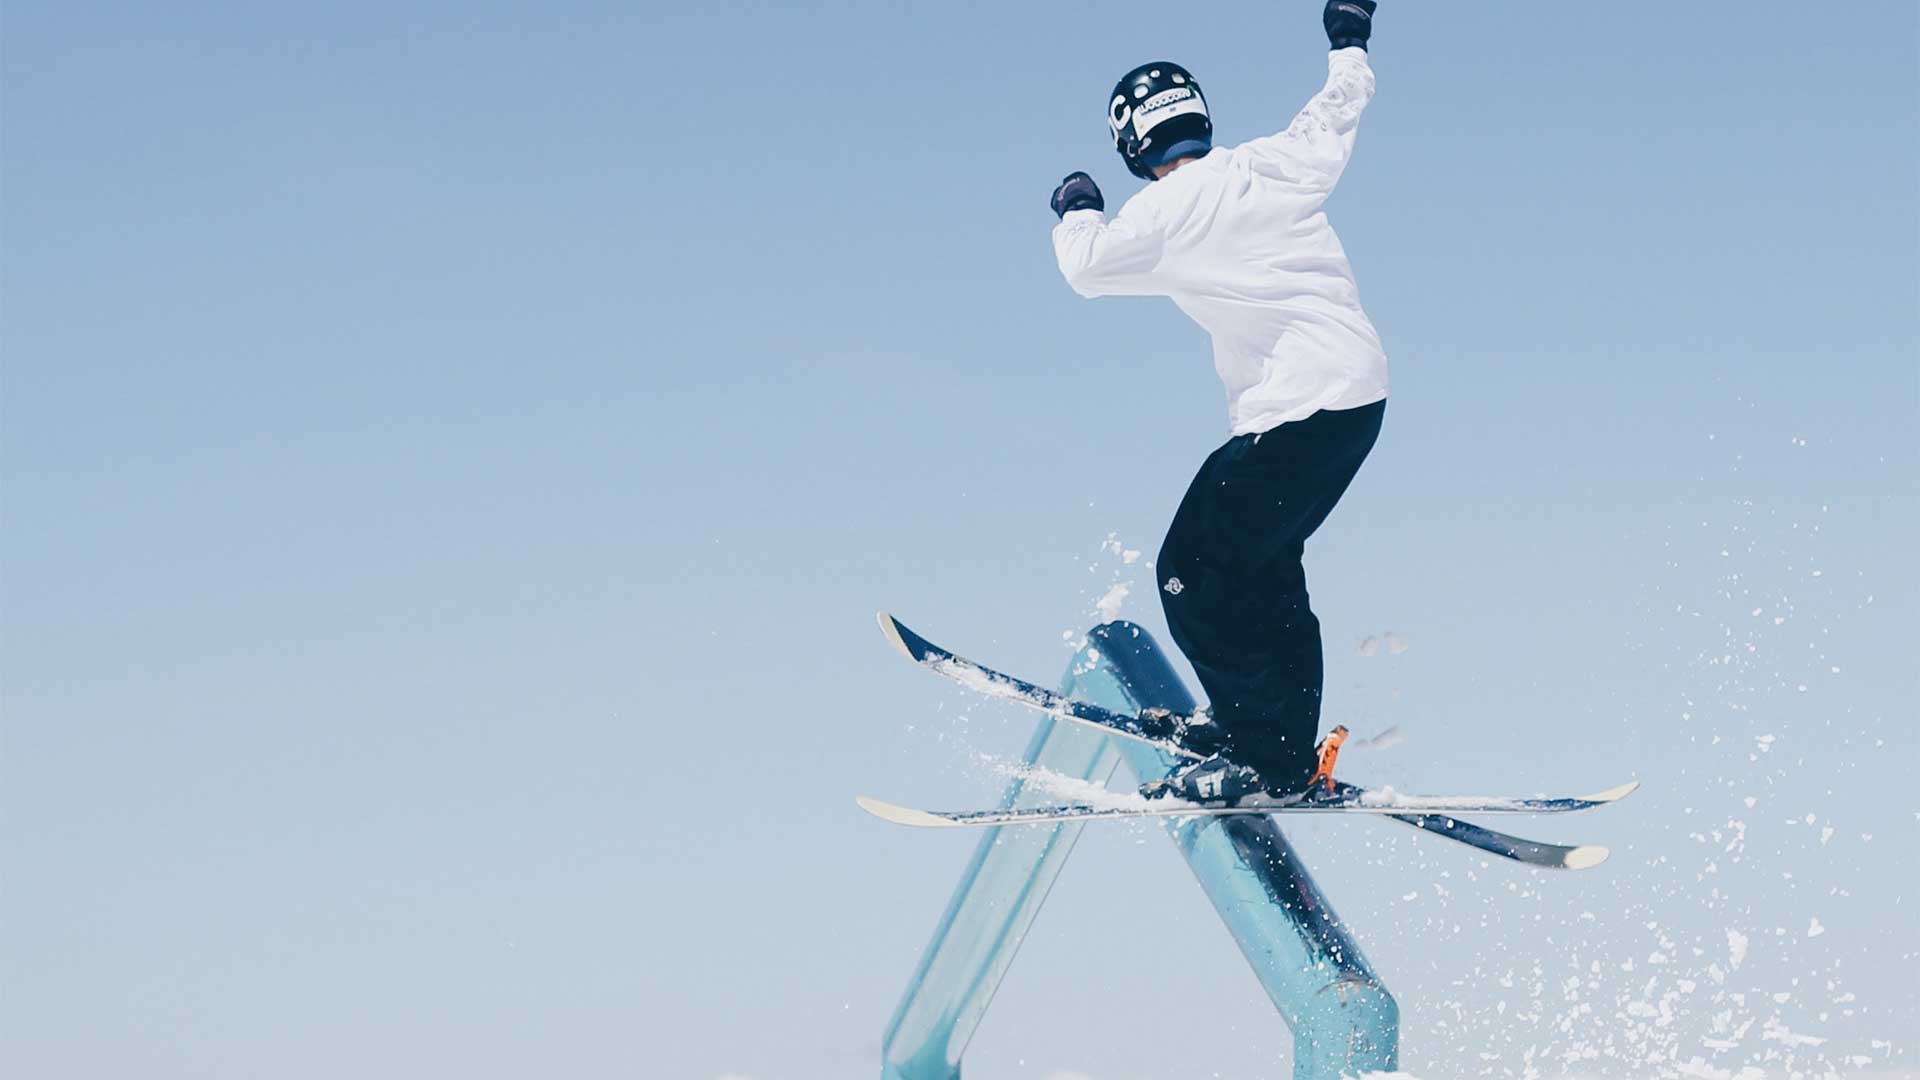
Safety grab

You’ve mastered the straight air, now it’s time to make it look good. Park skiers live by the motto “no grab, no trick”. In other words, you’ve got to throw in a grab to truly master a trick. To get started, opt for the simplest and most humble of grabs: the safety grab.

With whichever hand feels most comfortable, reach under your boot and grab (i.e. hold) the outside edge and base of your ski.

 Tips:

  • It’s tempting to focus on the grab and forget about the pop. Separate the trick into two stages: first pop, then grab.
  • Reaching down to grab your ski will tip you off balance. Instead, work your abs to bring your knees and legs towards your chest, which will minimise unwanted upper body movement.
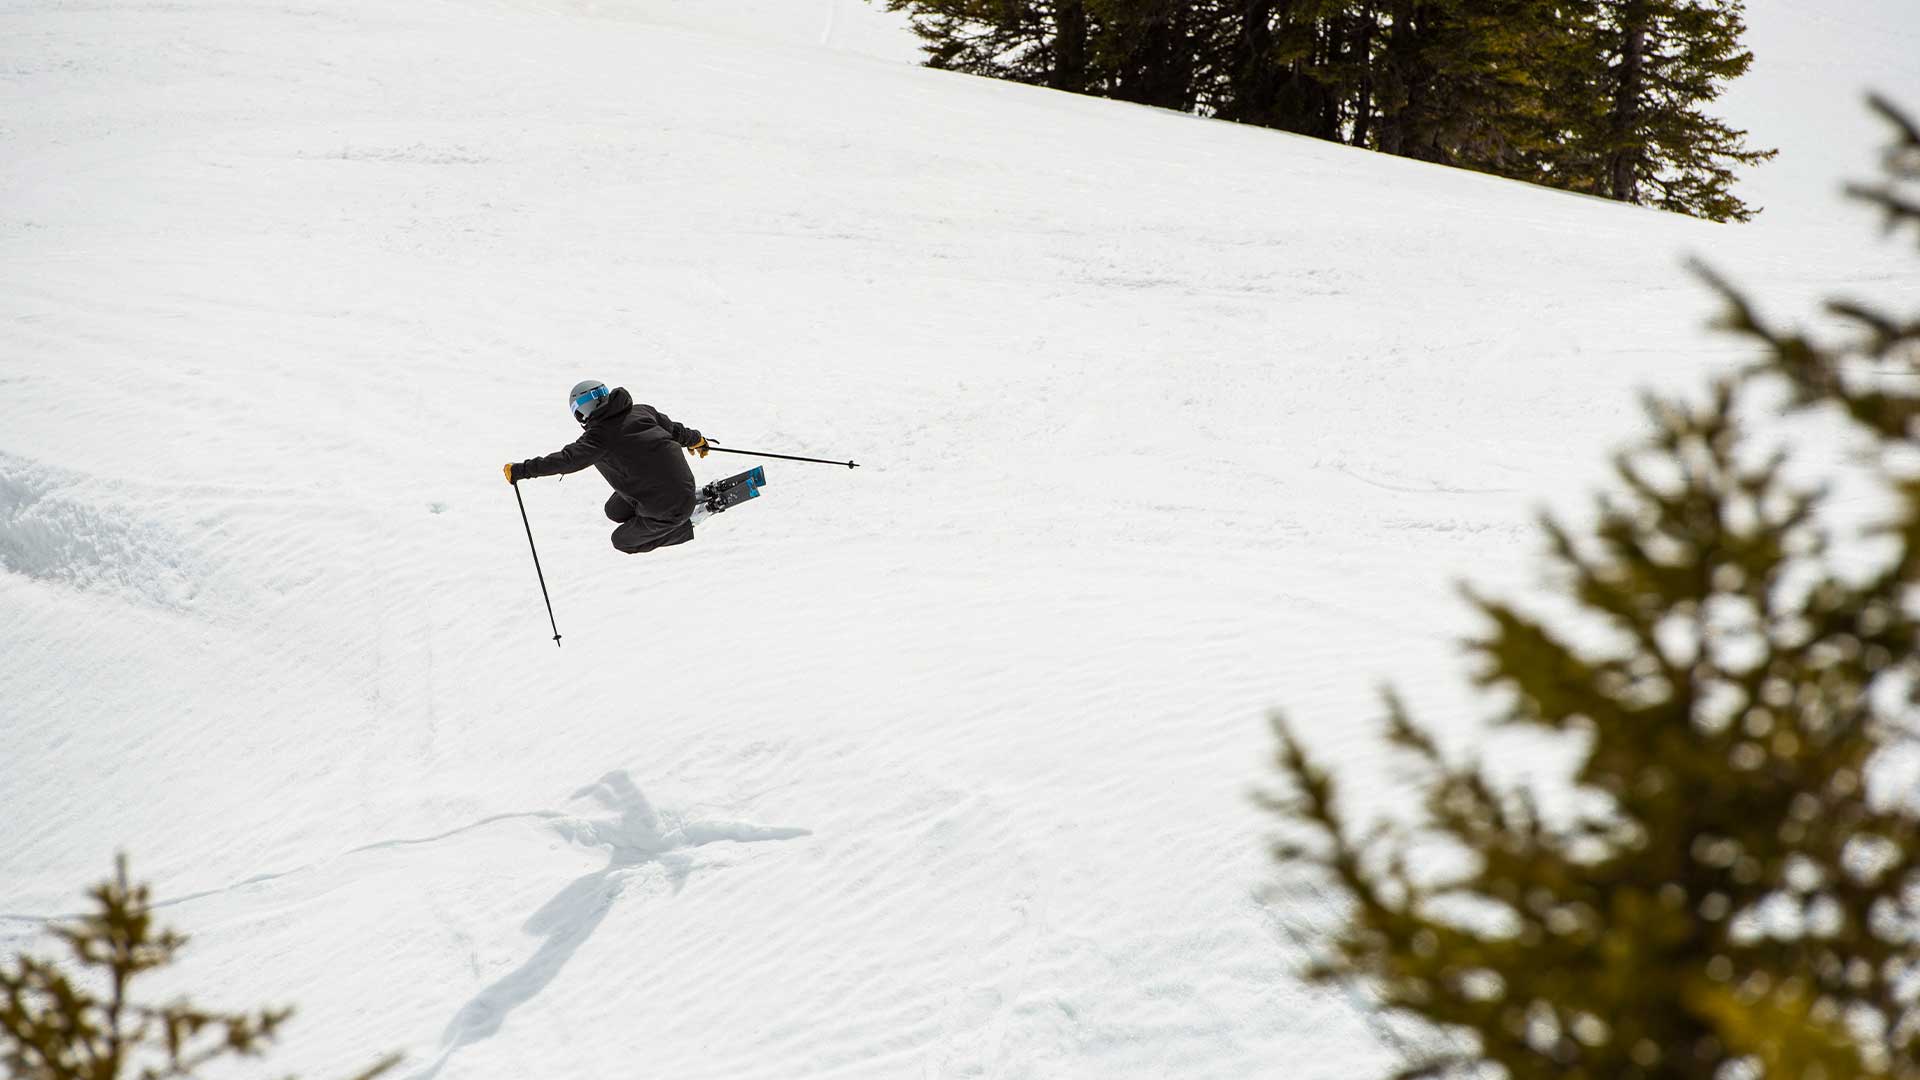
360

The classic spin that feels great, looks great, and confirms that you’re a now fully-fledged park rat.

As you approach the take-off, slightly rotate your shoulders in the opposite direction that you want to spin (this is called ‘winding-up’). On the take-off, pop and bring your shoulders square to the landing. Now, let your legs, hips, shoulders, and head rotate in a fluid motion (in whichever direction you want to spin).

As you rotate, be aware of your spin checkpoints: at 180 degrees continue looking towards the landing direction; notice that you’re passing 270 degrees and re-approaching the landing direction; and voilà, you’ve reached 360!

Tips:

  • A wide ski stance (just over shoulder width apart) on take-off provides extra grip for setting-up your rotation and added stability in the air. Keeping your arms out beside you (as if you’re holding a hula-hoop) also maintains stability.
  • Keep a horizontal eyeline while spinning. Avoid the classic mistake of looking down over your shoulder towards the jump or your feet, which tilts you off balance and increases the likelihood of a backseat landing.
Credit: Markos Mant

180

Start forwards, land backwards. Everyone loves a 180 for the ‘switch’ (i.e. backwards) landing, which makes you look like a boss on skis.

Pop. Once in the air, use your hips and legs to rotate your skis until they face the opposite direction. Try to keep your vision glued to the landing while turning your skis back towards the jump, which will help you rotate to 180 degrees (and not more).

Once you land, you’ll be skiing out backwards… don’t panic. Let your skis run backwards, then slow yourself down (a gradual backwards pizza will do the trick), before ‘reverting’ or swivelling around.

Tips:

  • You can turn your skis to the left or right – whichever direction feels most natural. Establish the direction you will spin before hitting the jump (trying out different 180s around the house should give you a feel for your preferred direction).
  • Before you take your 180 to the park, practise from stationary on a flat ski run. Next, try it on a bump or roller.
  • The better you can ski backwards, the safer and more comfortable it is to land backwards. So, start lapping the slopes backwards to get in some crucial switch mileage!

Switch 180

Start backwards and land forwards. Having a switch 180 in your trick bag allows you to link back-to-back 180s and switch 180s to seamlessly face forwards again.

Ski in switch towards the jump. In order to maintain a full field of vision, look over one shoulder (left shoulder for spinning left, right shoulder for spinning right). Pop on the take-off whilst keeping your vision on the landing. Whilst in the air, turn your body and legs towards the landing. This shouldn’t feel like much of a spin since your head, shoulder, and hips are already partially rotated on take-off, you simply need to bring your legs around.

Tips:

  • The better you can ski backwards, the safer and more comfortable it is to take-off backwards.
  • Follow the same progression as with 180s: practise switch skiing; practise switch 180s on a flat run; practise on a bump or roller.
  • It’s tempting to ski switch with your upper body leaning over your ski noses – the equivalent of skiing forwards very backseat. Instead, try to feel your calves press against the back of your ski boots to keep your weight centred whilst switch.

Nose butter 180

A 180, with a healthy dose of butter added into the mix to ooze style and creativity.

Pop and rock your body weight as far forward as possible to press up onto the noses (tips) of your skis. When your feet feel weightless, swivel your legs 180 degrees using your ski tips as a pivot. As with standard 180s, keep your vision glued to the landing whilst turning your skis in the opposite direction.

Tips:

  • Commitment is key to getting up and onto those ski tips – really press your shins into the front of your boots and exaggerate rocking forwards.
  • These work best over rollers/knuckles instead of typical park jumps. Try your nose butter 180s out on flat runs and small bumps, before progressing onto rollers and knuckles.

50/50

Essentially skiing in a straight line over a box (or a rail feature). Like the pop, a 50/50 might not look like a ‘trick’, but it’s the first step in any jibbing journey. Good news, if you pick a friendly feature (such as low, wide, and short box), any level of skier can nail a 50/50. We hope this three-year-old provides some inspiration.

Align your skis with the centre of the box. Ski over the box whilst maintaining parallel and flat skis. Many boxes have a small take-off or ‘lip’. In this case, do a small pop to get onto the box. Same goes for the landing – a small pop is required to maintain a balanced ski stance as you drop from the box to meet the snow. In short: pop on; ski straight; pop off.

Tips:

  • Box surfaces are (usually) plastic and slippery, in particular when coming into contact with ski edges. To avoid your edges clashing with the box, keep your skis completely flat.
  • Slow yourself down before the box in order to avoid snow-ploughing onto/on the box (a snow-plough engages your edges, so steer clear!)

Rail slide

Does what it says on the tin: skis slide sideways on a jib feature (e.g. a box, pipe, or rail). Rail slides are the foundation for all rail tricks and use the same technique whether you’re on the friendliest box or the gnarliest rail.

Pop off the take-off, turn your skis 90 degrees while in the air (either left or right), land on the feature with your skis at 90 degrees and slide along. To exit, repeat in reverse: pop off the rail; turn your skis 90 degrees while in the air; land with your skis parallel (facing either forwards or switch – your choice!)

Nailing the correct body stance is crucial to successfully sliding boxes and rails. Keep your skis wide apart (over shoulder width) to create a stable platform for sliding. Your weight should be stacked over the front foot to prevent you falling inside/uphill whilst on the rail.

Tips:

  • Eyes on the prize (the prize being the end of the rail)! This will help you stay aligned with the rail.
  • Remember: flat skis are friendly skis when it comes to jibbing. This will also prevent you from tilting onto your inside edges and falling uphill.

Backflip

The ultimate crowd-pleaser. Naysayers claim they’re overrated, but we say nothing looks better than a big old laid out backie.

Nope, backflips don’t have much to do with bending or arching your back, it’s all in the hips. As you pop with your legs, project your hips upwards towards the sky whilst gradually looking backwards towards the jump. Keep your eyes peeled to spot the landing, which will come into view as your upper body completes the rotation. Bring your legs back underneath you just in time to stomp.

Tips:

  • The quicker you set your hips back, the quicker you will rotate. Small jumps require an explosive pop and set. When it comes to larger jumps, patience is a virtue – set your hips back gradually to initiate a slower rotation.
  • Find soft landings for flip attempts. First, get comfortable upside down on a trampoline (a diving board or gymnastics mat will also do the job). Next, build a small kicker into fresh snow. Feeling solid? Take it to the park on a soft and slushy park day.

Frontflip

Same as a backflip but forwards? (Well mostly, there’s a few differences).

First things first, pop. Without a good pop, you will nosedive towards the ground. If that doesn’t sound too appealing (it shouldn’t), prioritise a strong pop on the take-off.

To initiate the rotation, either pop off two feet evenly and begin to tuck forwards (gymnastics style). Alternatively, bring your stronger leg forwards and kick your weaker leg back on the take-off. Pop off your front ski to propel you into the forwards rotation (a ‘punch-front’, ‘ninja’, or ‘staggered’ take-offs provide more forwards momentum on smaller jumps). Bring your head towards your knees and tuck to complete the rotation.

 Tips:

  • The quicker you tuck, the quicker you flip.
  • To stall your rotation on larger jumps, keep your eyes on the landing for as long as possible whilst remaining in a stretched out (or ‘superman’ position) before tucking. When you see the landing approaching, tuck to complete the rotation.
  • As with backflips, get your frontflips dialled in on a trampoline and soft landings before heading to the park.

You May Also Like

Audi Nines Design | Unveiling The Setup

Freeride World Tour 2021 | Xtreme Verbier Ski Highlights

Best Backcountry (Touring) Skis

Best All-Mountain Skis

Newsletter Terms & Conditions

Please enter your email so we can keep you updated with news, features and the latest offers. If you are not interested you can unsubscribe at any time. We will never sell your data and you'll only get messages from us and our partners whose products and services we think you'll enjoy.

Read our full Privacy Policy as well as Terms & Conditions.

production