The mountains offer some of the most stunning views on earth, and snowboarding is the ultimate way to enjoy them.
Capturing this wild environment is a challenge, but drones have made it easier and more exciting than ever, gaining incredible new angles that we could only dream of a few years ago.
The Mavic Pro from DJI is one of the latest models. It’s super simple to fly and features a unique fold-out design that you can stash into a backpack before you jump on the lift.
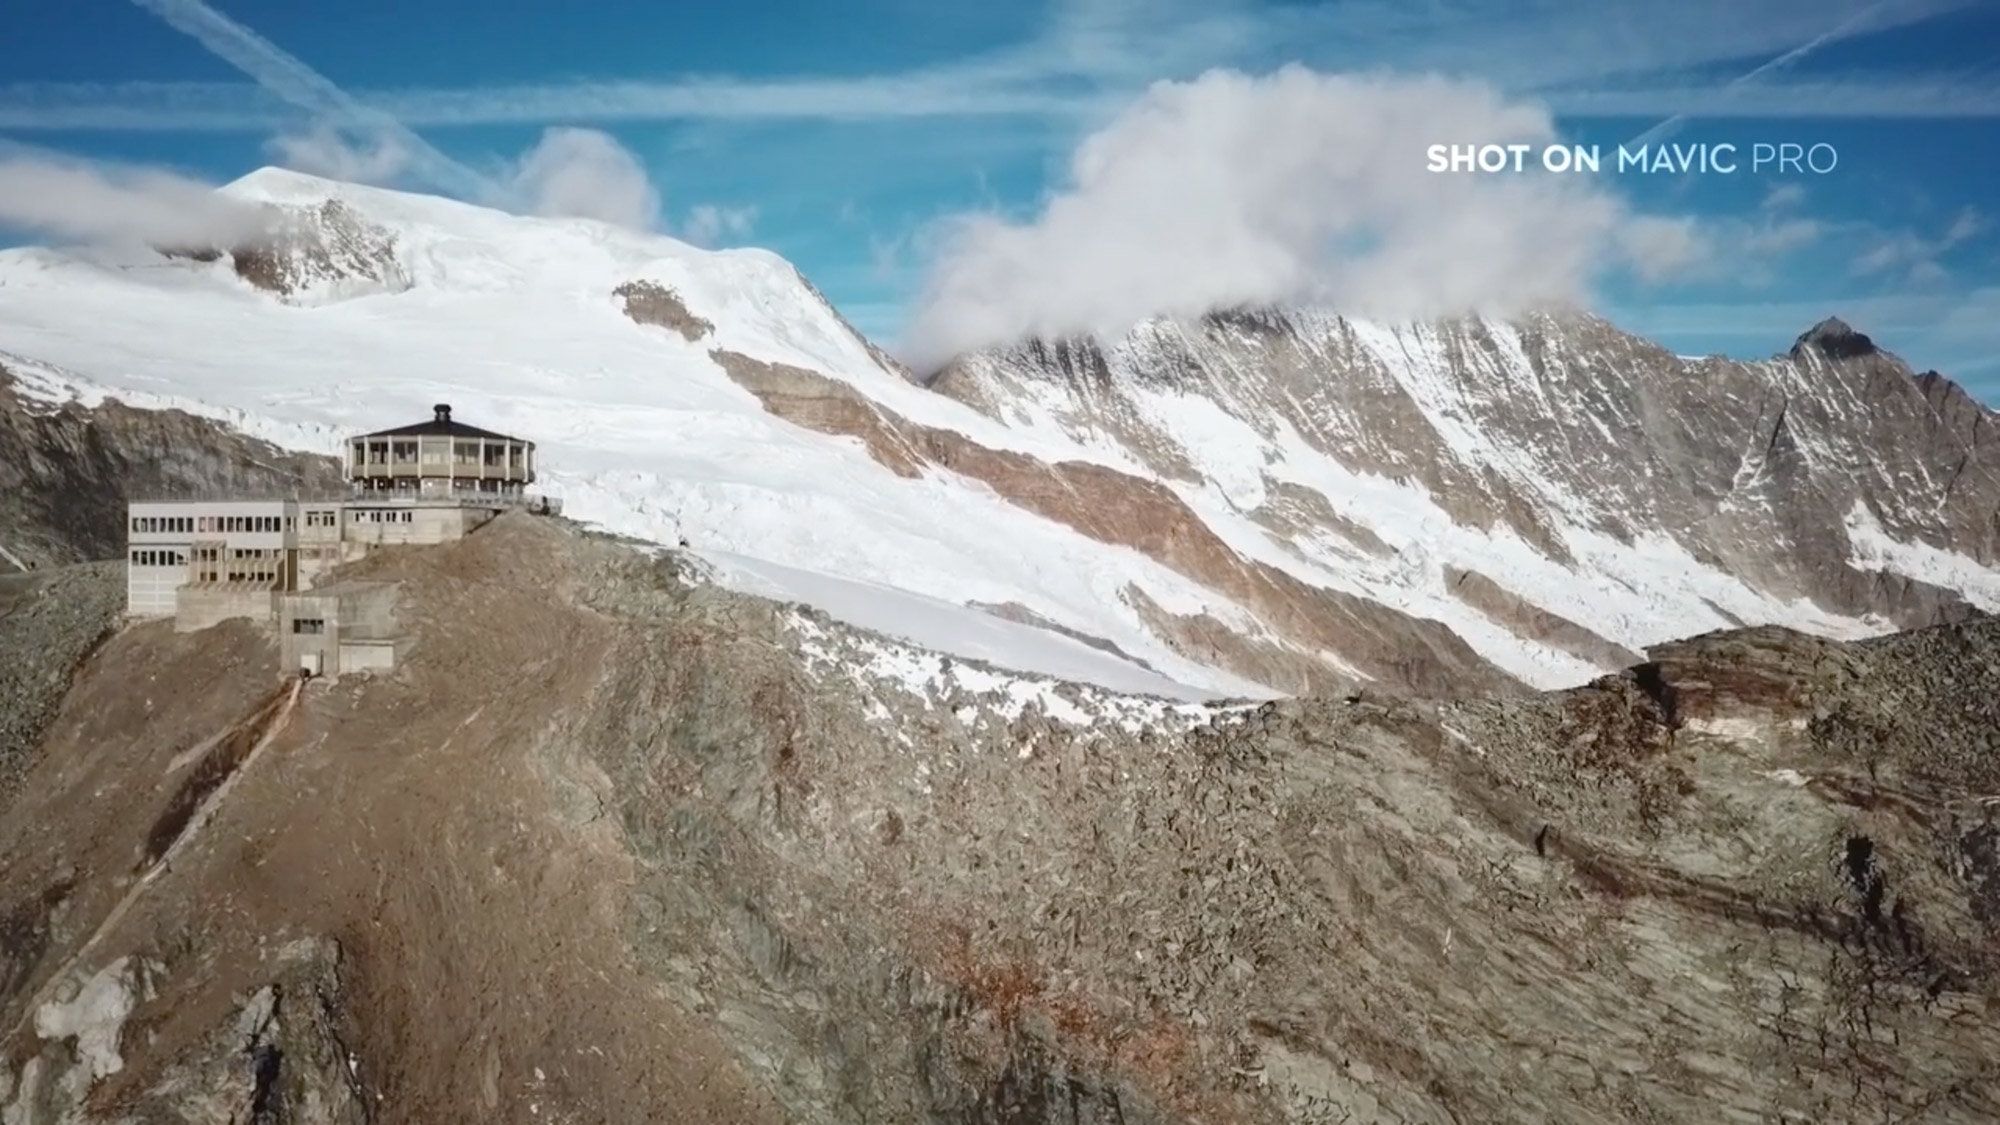
For this tutorial, we headed to the glacier at Saas Fee to run through just a few of the ways you can use your Mavic to record some epic winter shots.
** Find out more about the DJI Mavic Pro here **
First thing’s first, you’re going to want to capture these beautiful alpine landscapes. With its 4k camera, any footage from the Mavic as it flies through the mountains is going to look awesome, but for added impact one trick to try is called the tilt reveal.
“With its 4k camera, any footage from the Mavic as it flies through the mountains is going to look awesome”
Choose a valley or distant peak for your subject, and fly towards it by pushing forwards on the right stick, keeping the camera pointed straight down.
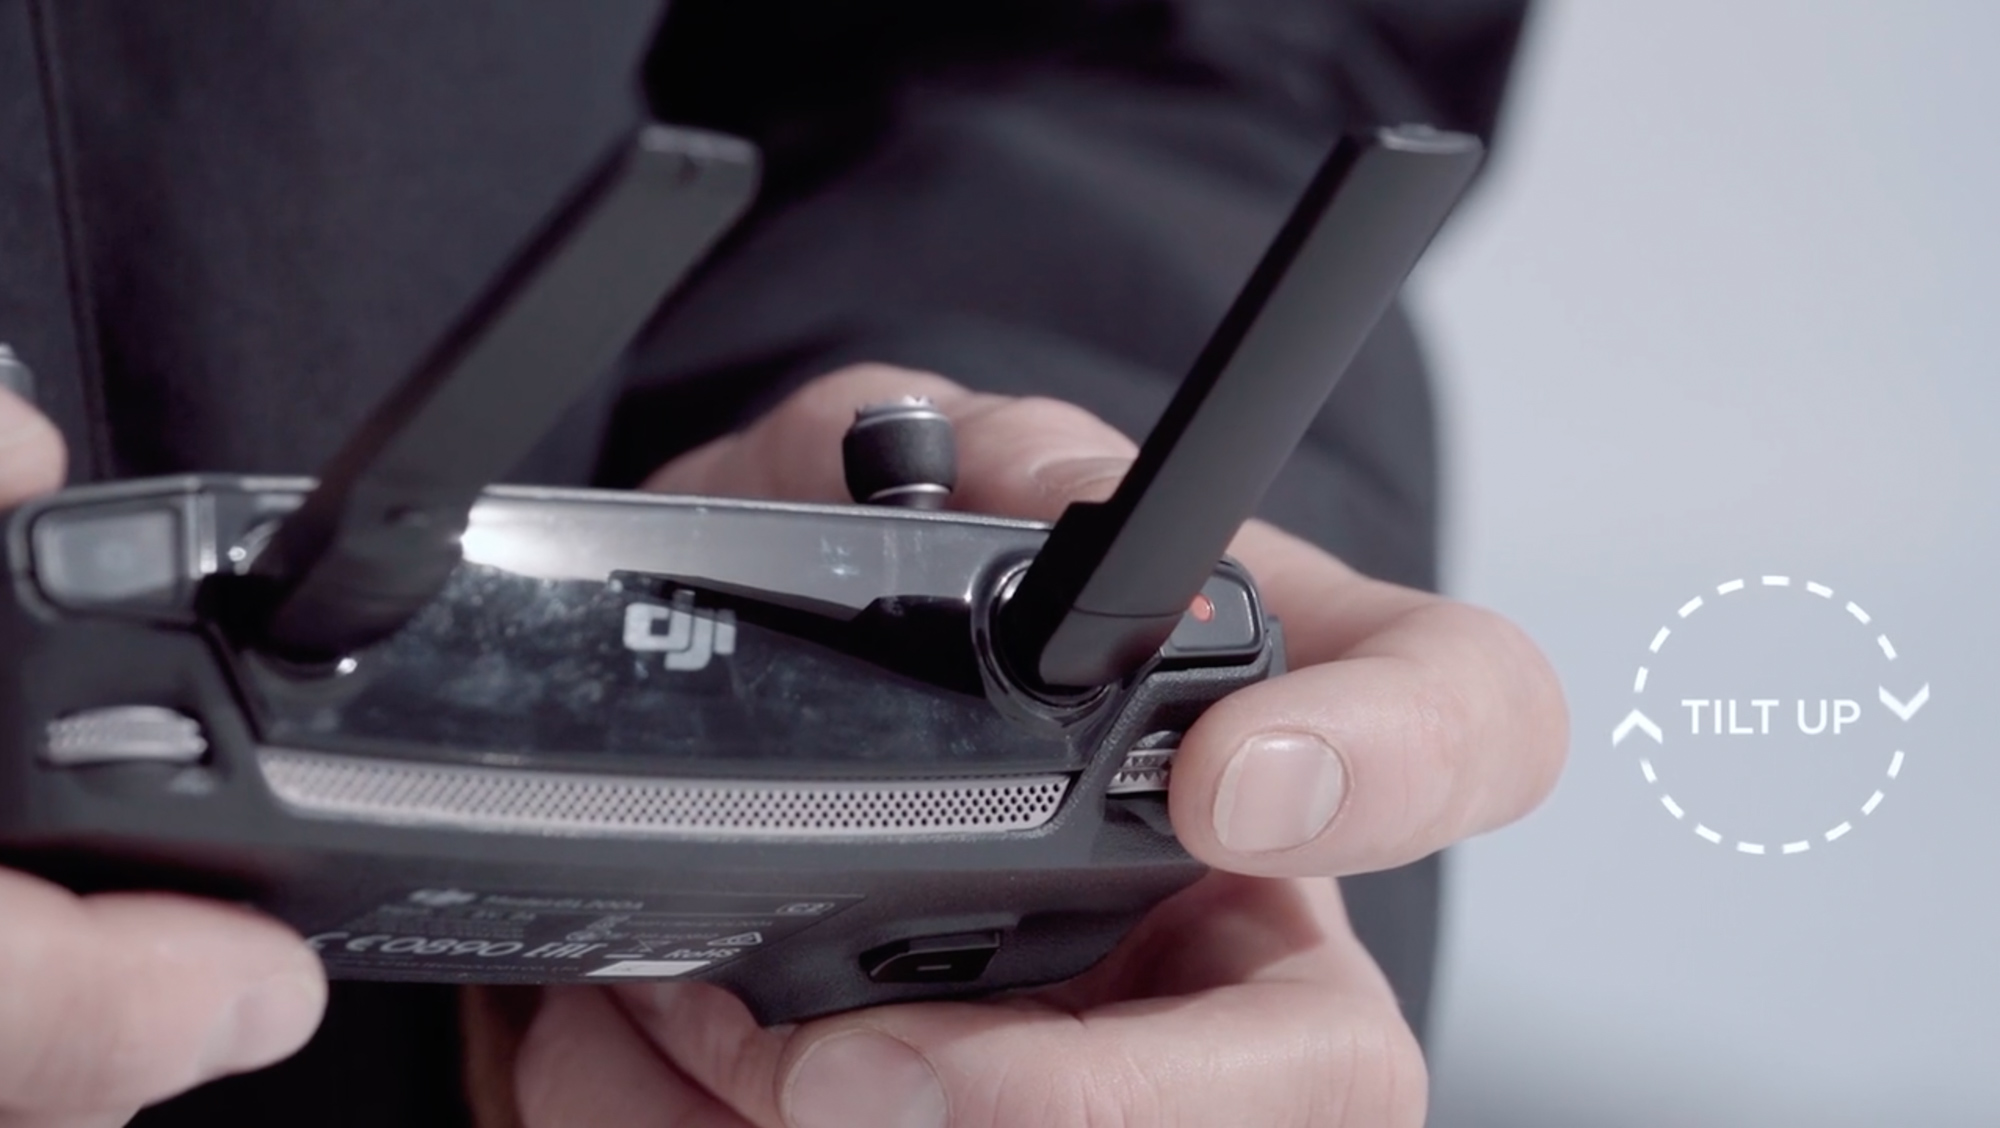
Now, slowly rotate the gimbal wheel on the top left of the controller, and the camera will tilt up to reveal the full picture. It’s a great way to grab the viewer’s attention and pull them into the scene.
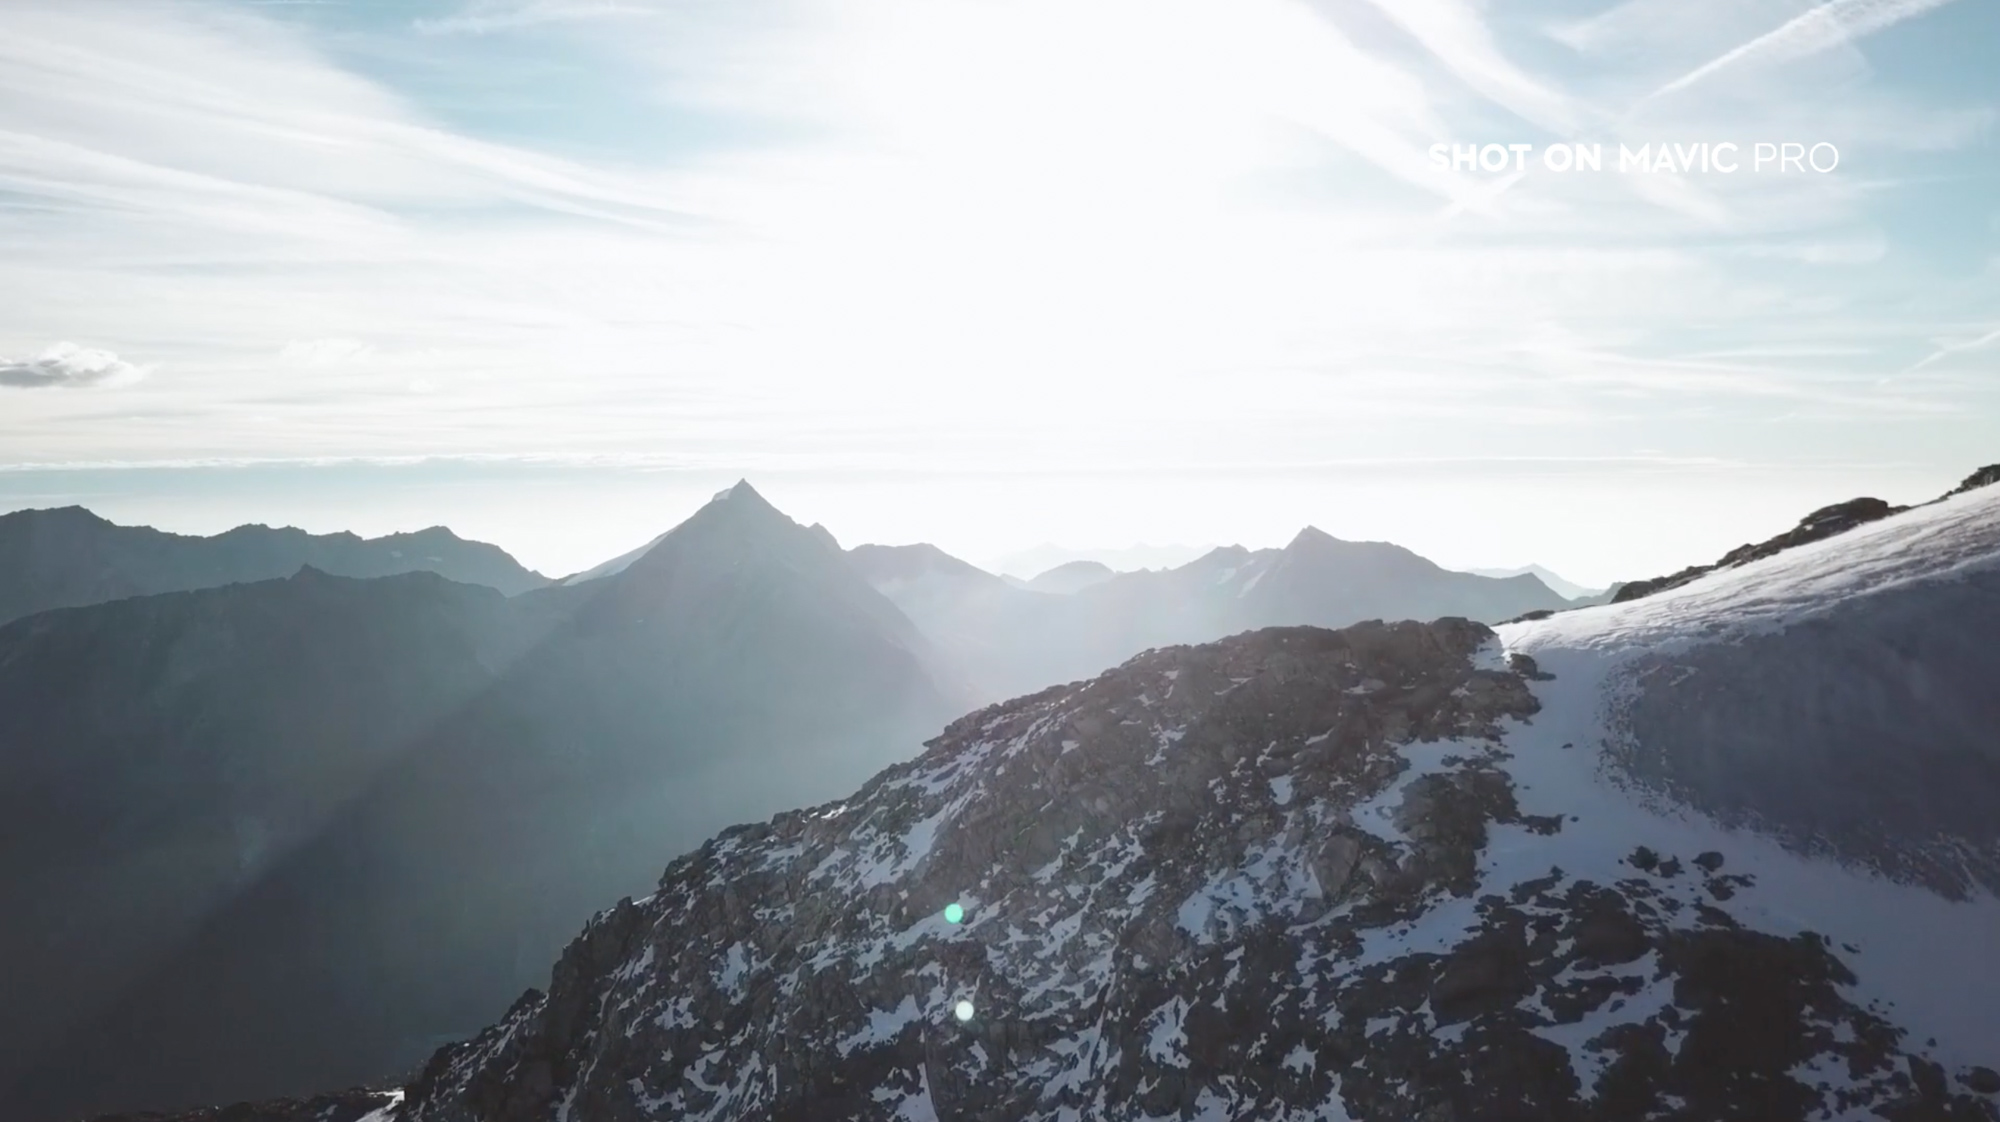
If you’re shooting a ridgeline, another technique to add some drama is to start below the height of the peak. Now increase your altitude by pushing up on the left stick.
As the camera passes the summit and reveals the background, the foreground will appear to move faster, giving a 3D feel to the landscape.
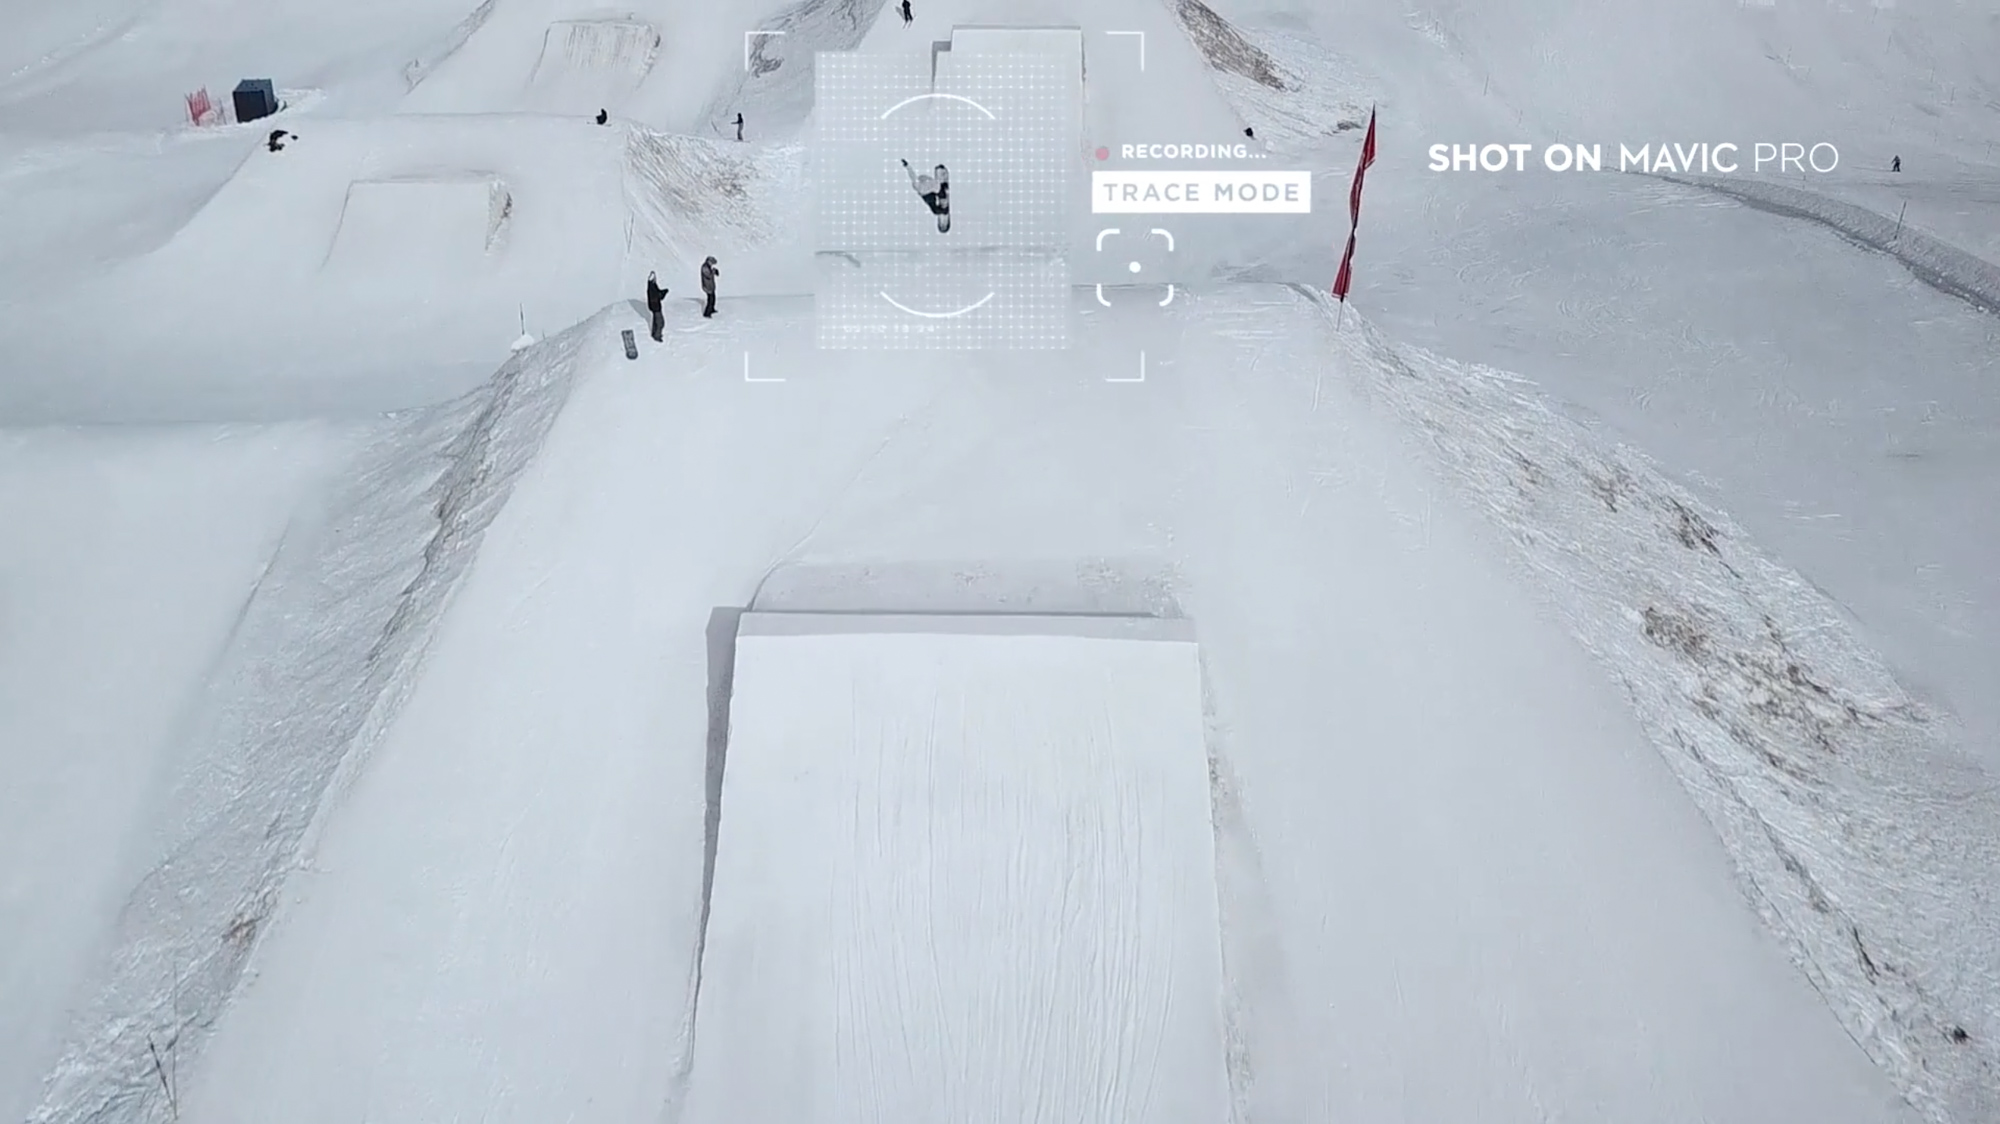
When you’re ready to film some action, the Mavic Pro features several Active Track modes that will follow a skier or snowboarder automatically. Just tap on the subject and the camera will lock on:
Or for high speed descents, switch to Sport Mode to increase the top speed to 40 miles per hour.
One thing to be aware of when flying in the mountains is that you’ll quickly gain height relative to the slope as a rider decends, so it’s best to start low to the ground and finish your movement before the rider becomes too small in frame. You can compensate a little by descending using the left stick.
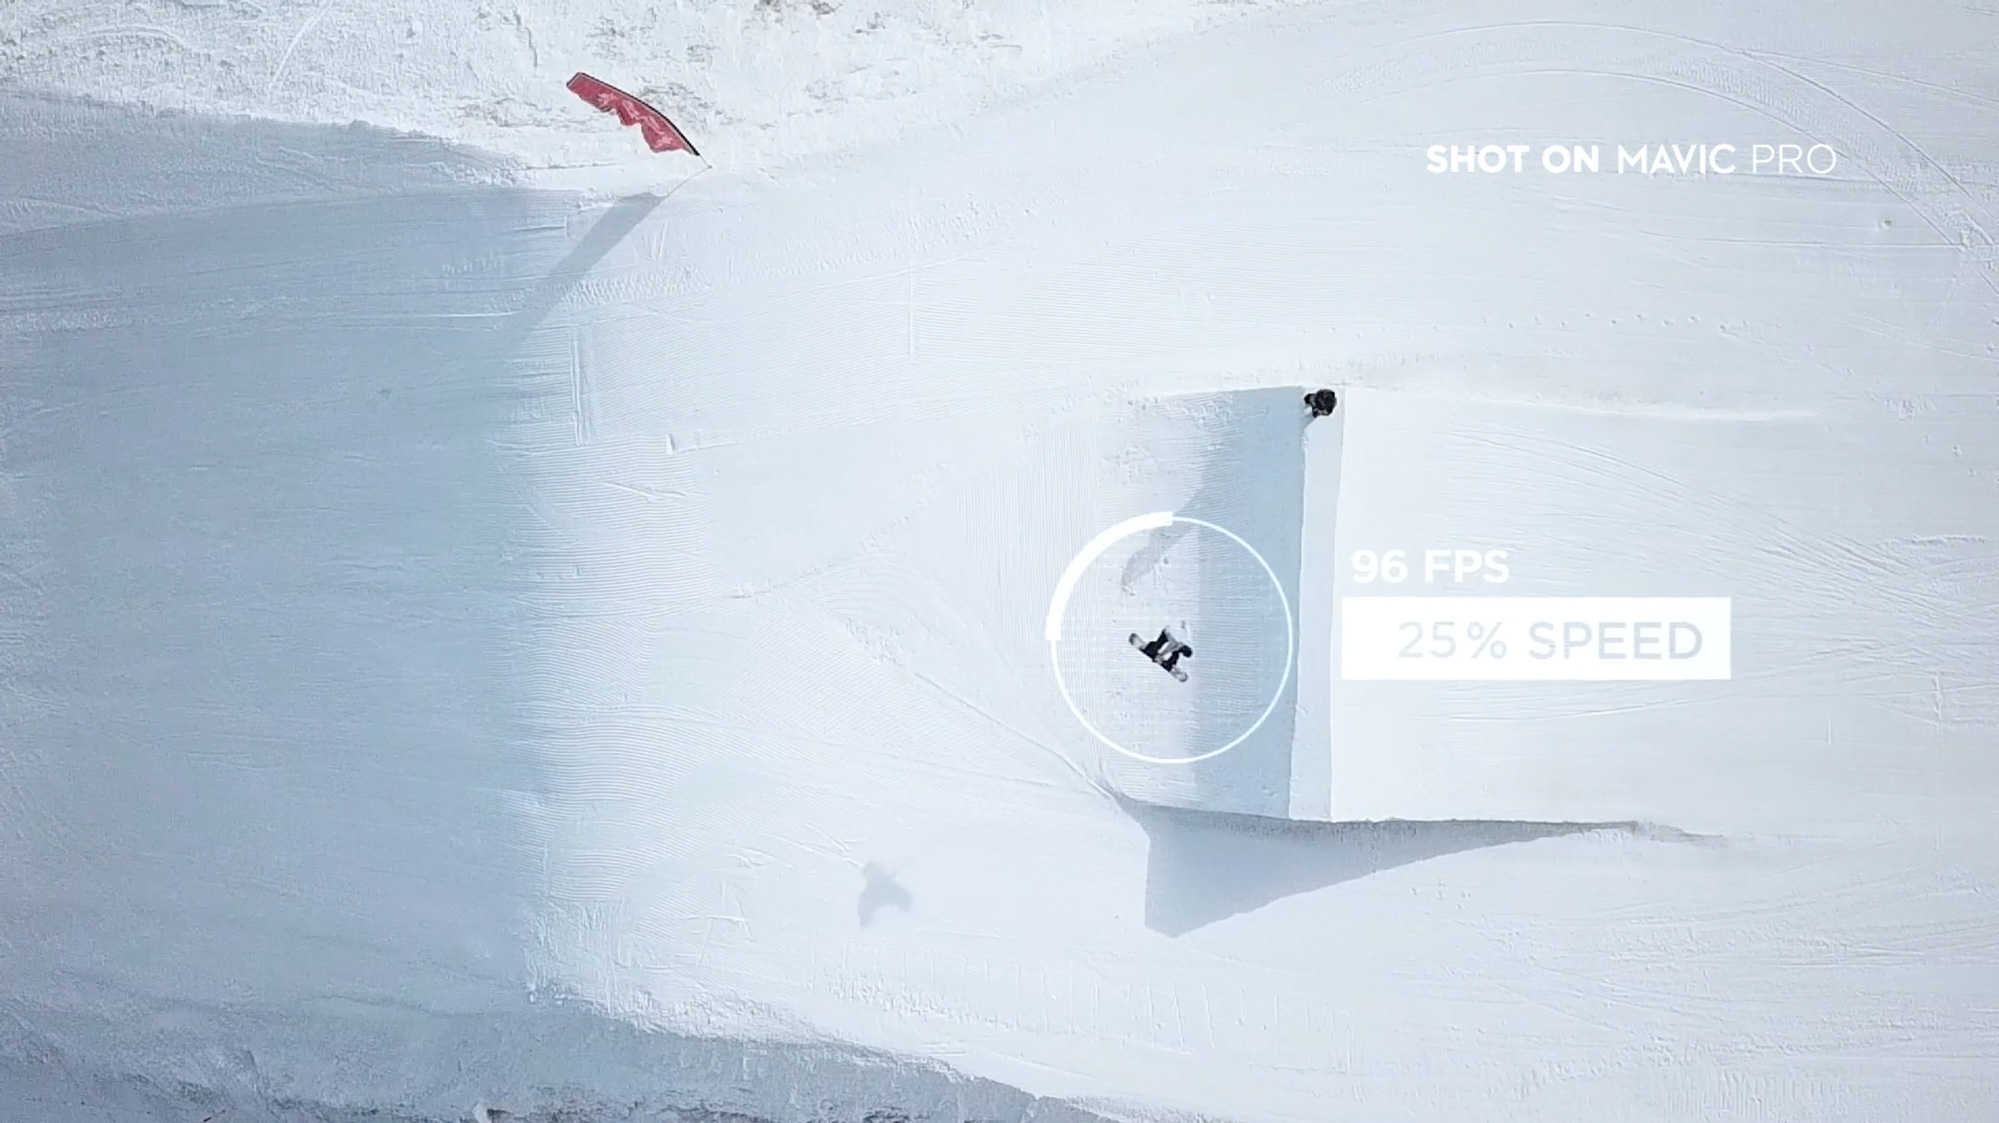
“You can capture full HD at up to 96 frames per second – perfect for reliving every moment in the air”
Finally, if you’re shooting tricks in the park, the Mavic boasts two super handy settings to help freeze time. The first is slow motion video. You can capture full HD at up to 96 frames per second – perfect for reliving every moment in the air:
If you’re taking still images, check out Burst Mode. The 12 megapixel camera will fire off either 3, 5 or 7 photos in a single second, giving you a better chance of capturing that banger shot.

