In the last few years, drones have expanded our view of the world. We’ve all seen those incredible aerial shots of landscapes, wildlife and action.
Most people imagine that flying one of these things is really difficult, but with the latest drones anyone can take to the sky in minutes.
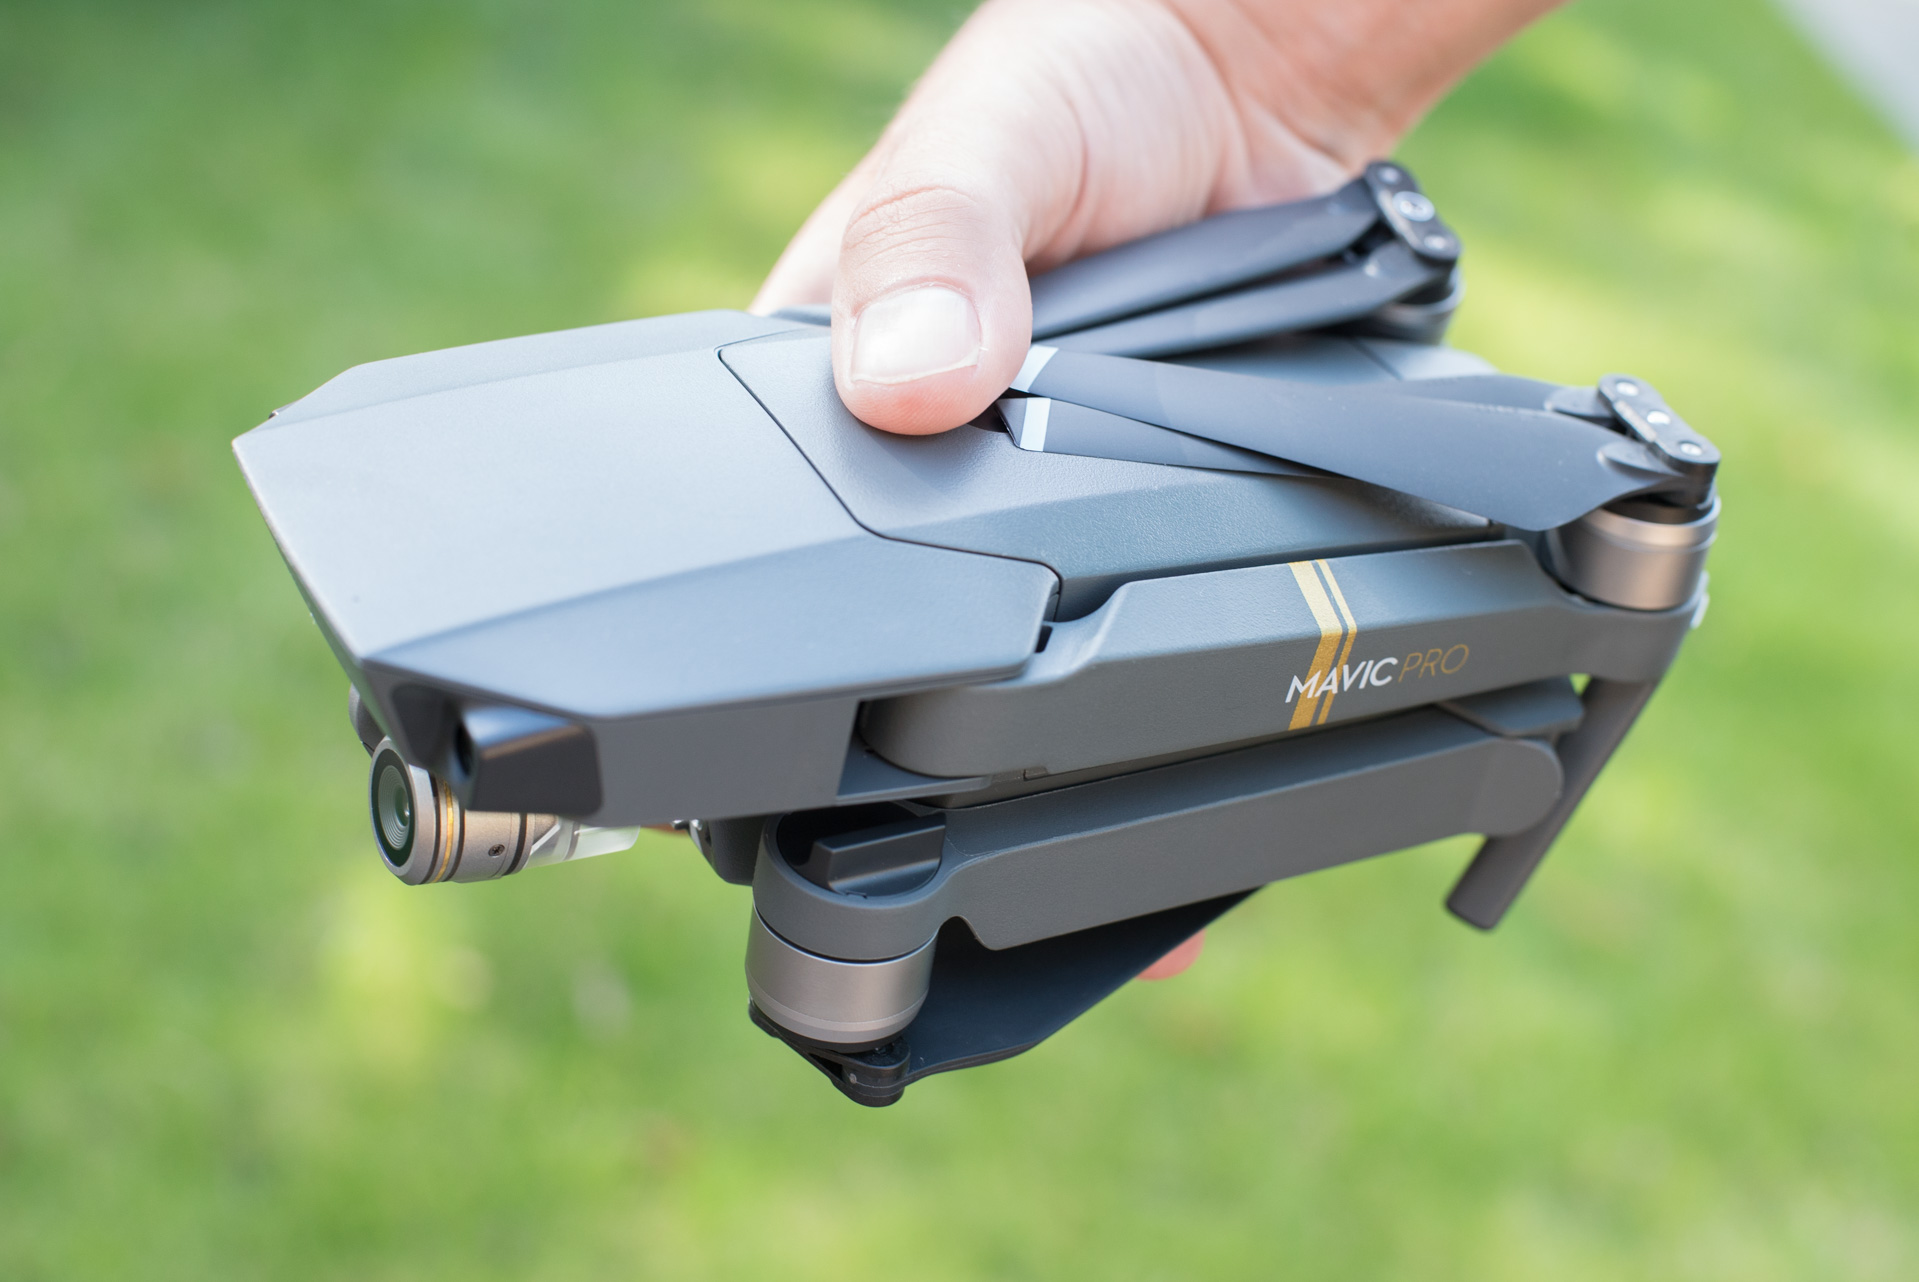
The Mavic Pro is a state of the art model from the world’s most popular drone maker, DJI. Compared to a more classic drone – like the well-known Phantom – it features a unique fold-out design that makes it way smaller and lighter to carry around.
The Mavic also boasts a powerful camera and a bunch of automatic flight modes that are really simple to use.
This super portable drone is the ultimate device for getting outside and capturing your favourite activities. Whether you’re into hiking, downhill mountain biking, surfing or snowboarding, in Mavic Adventures we’ll be showing YOU how to capture some awesome bird’s eye shots.
Let’s start, by walking you through the basics of preparing your drone for take-off, and mastering the controls.
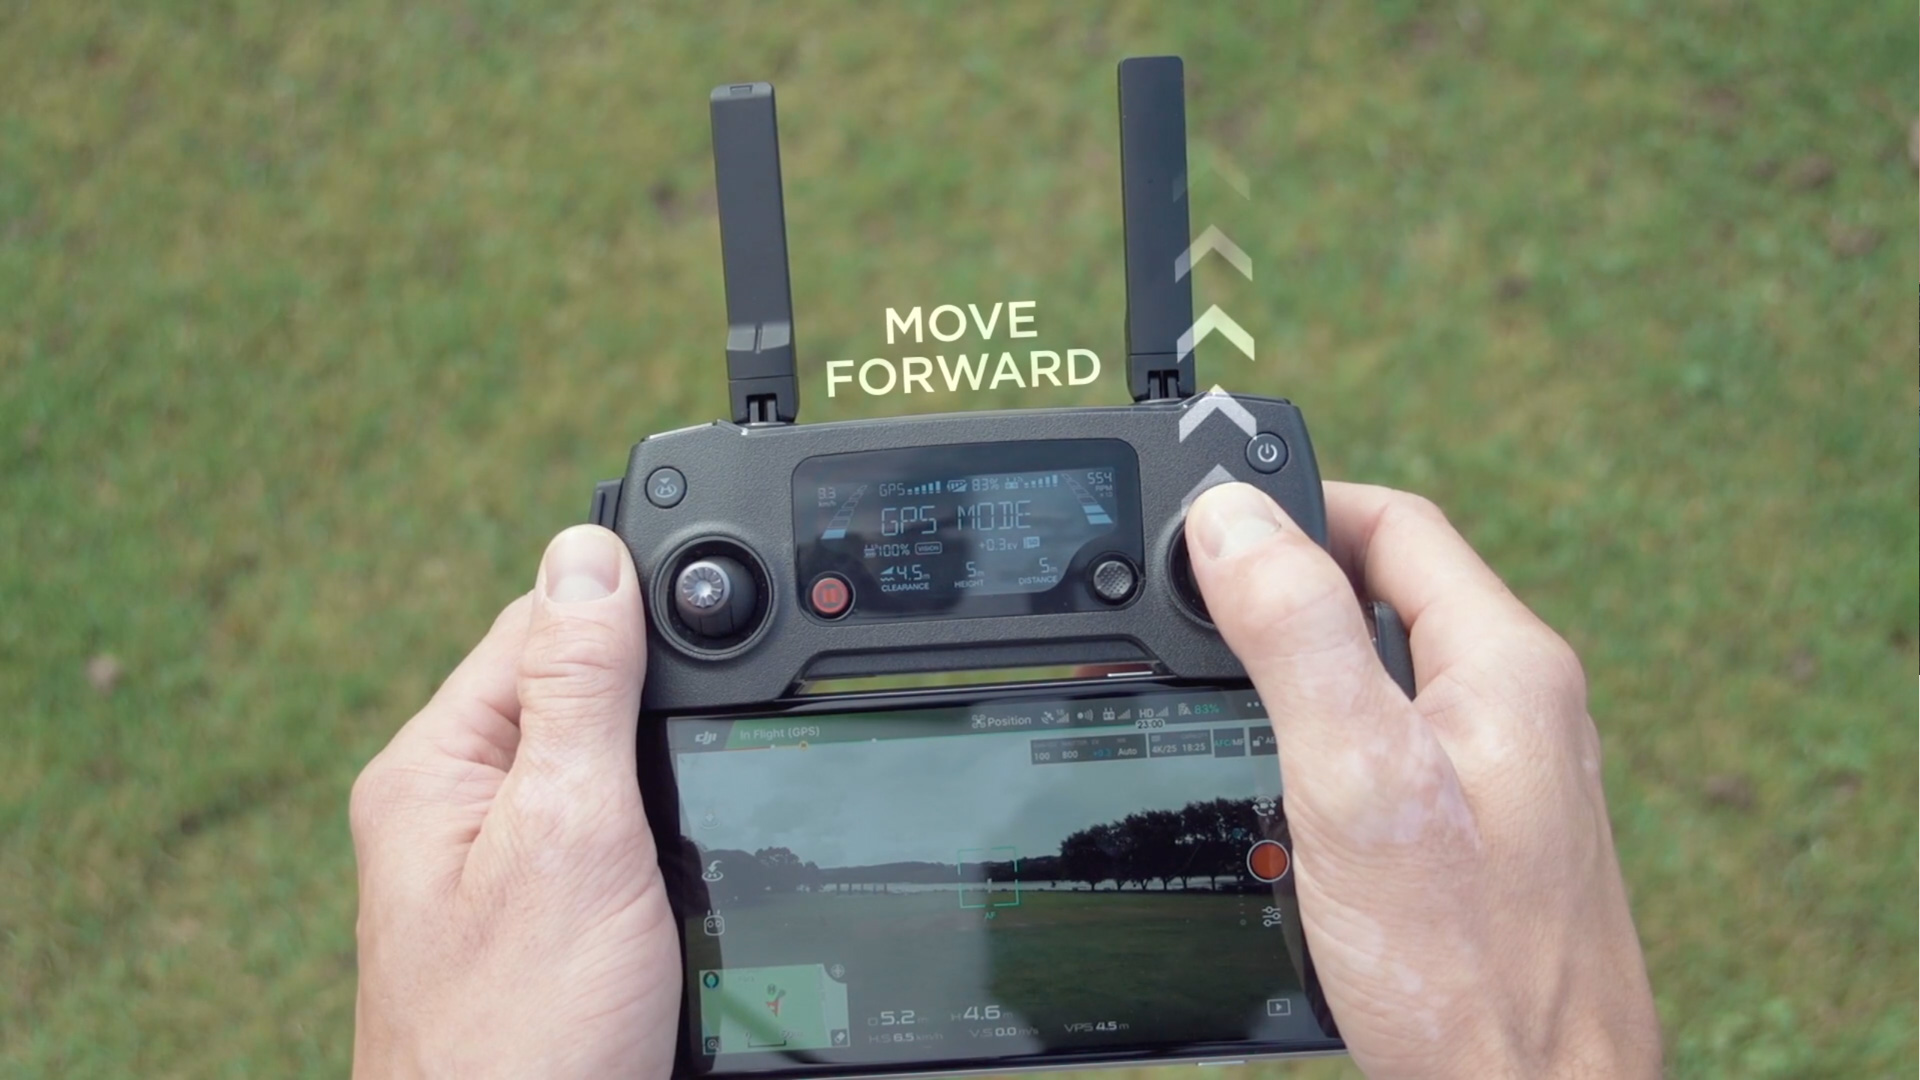
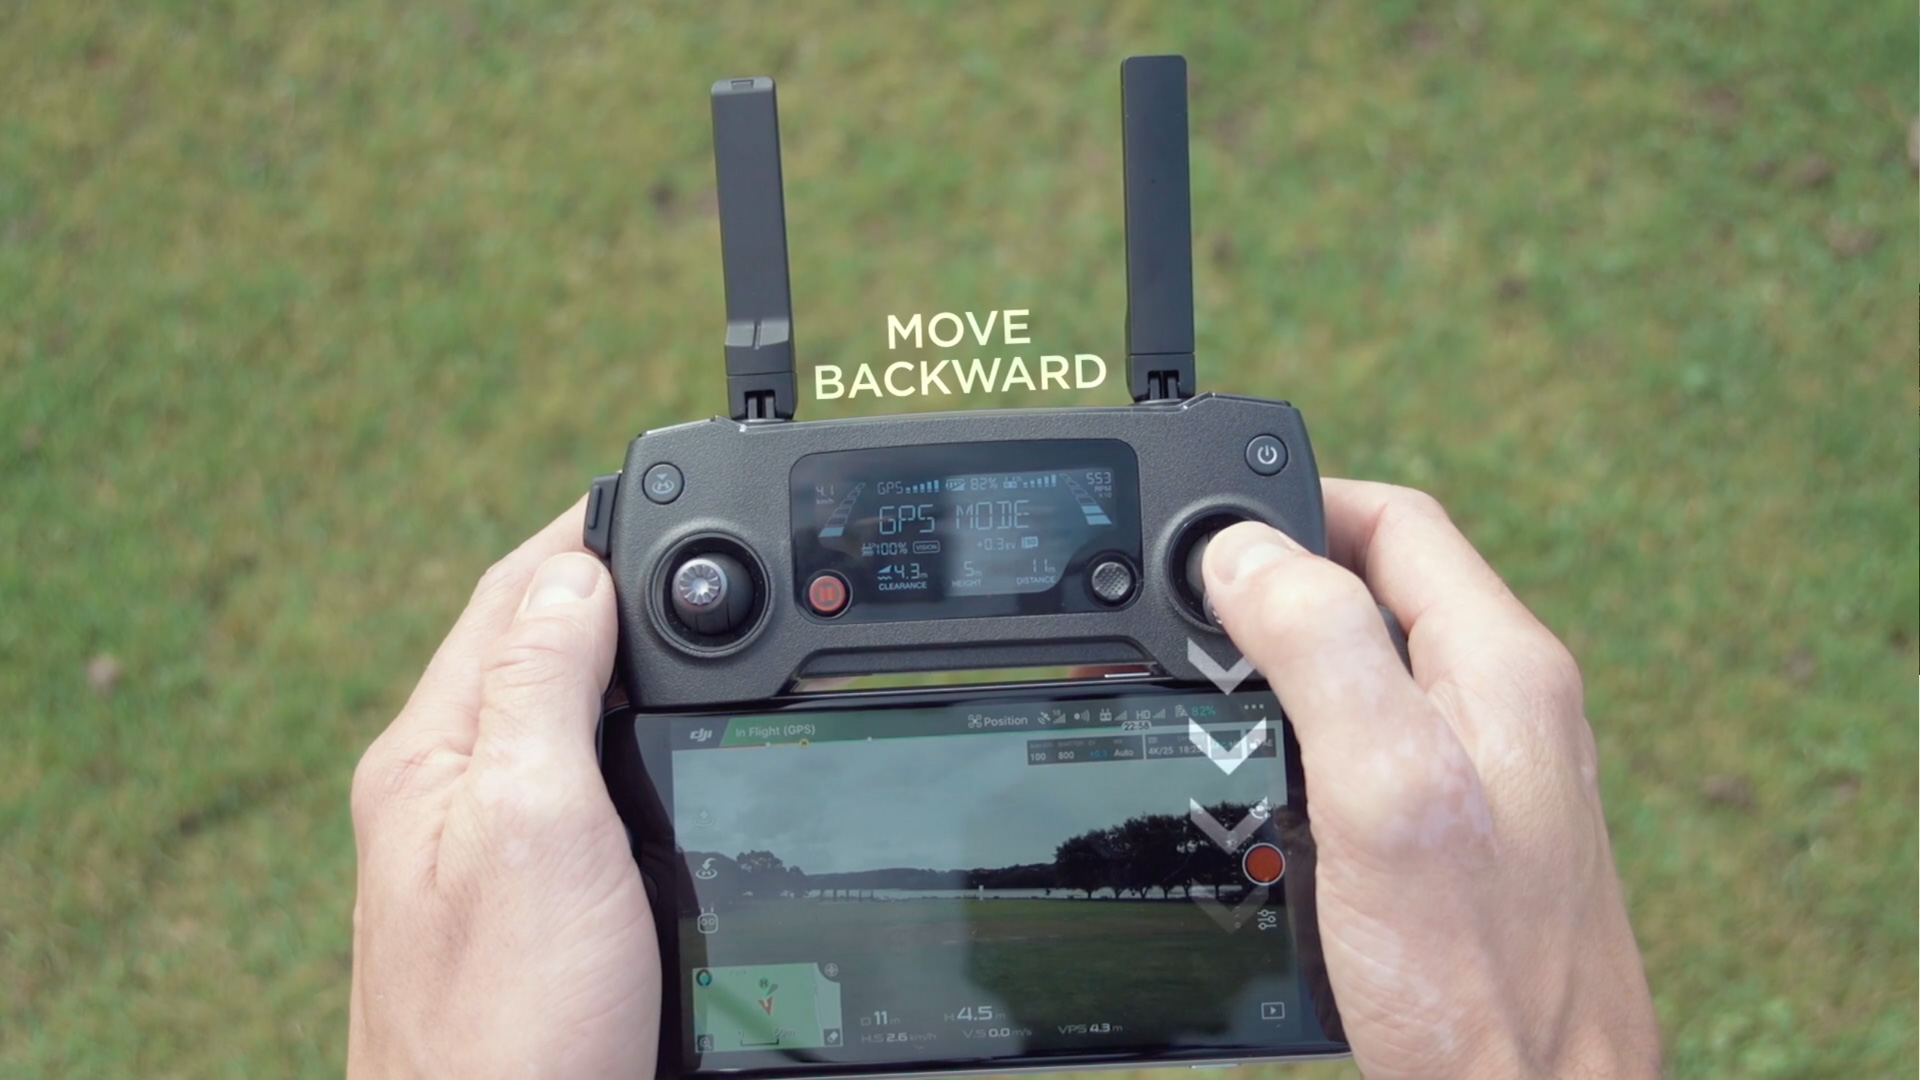
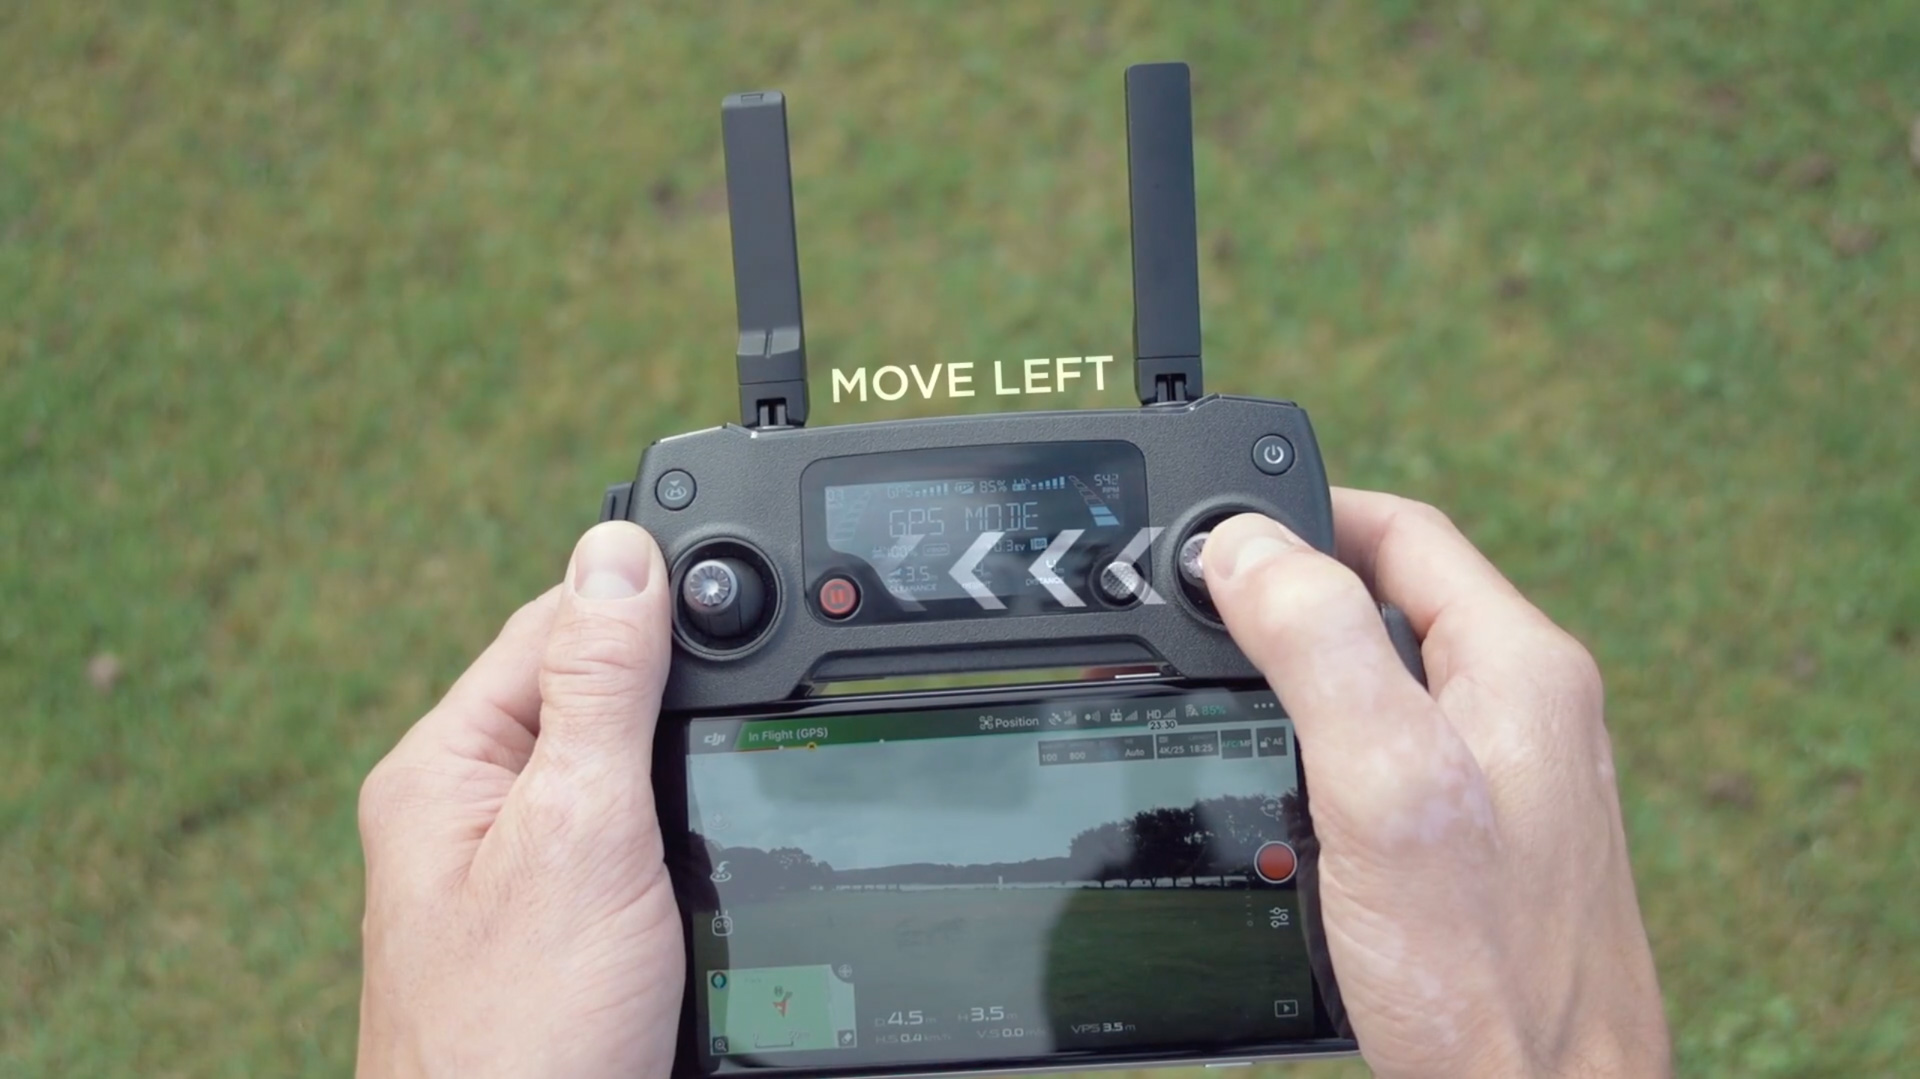
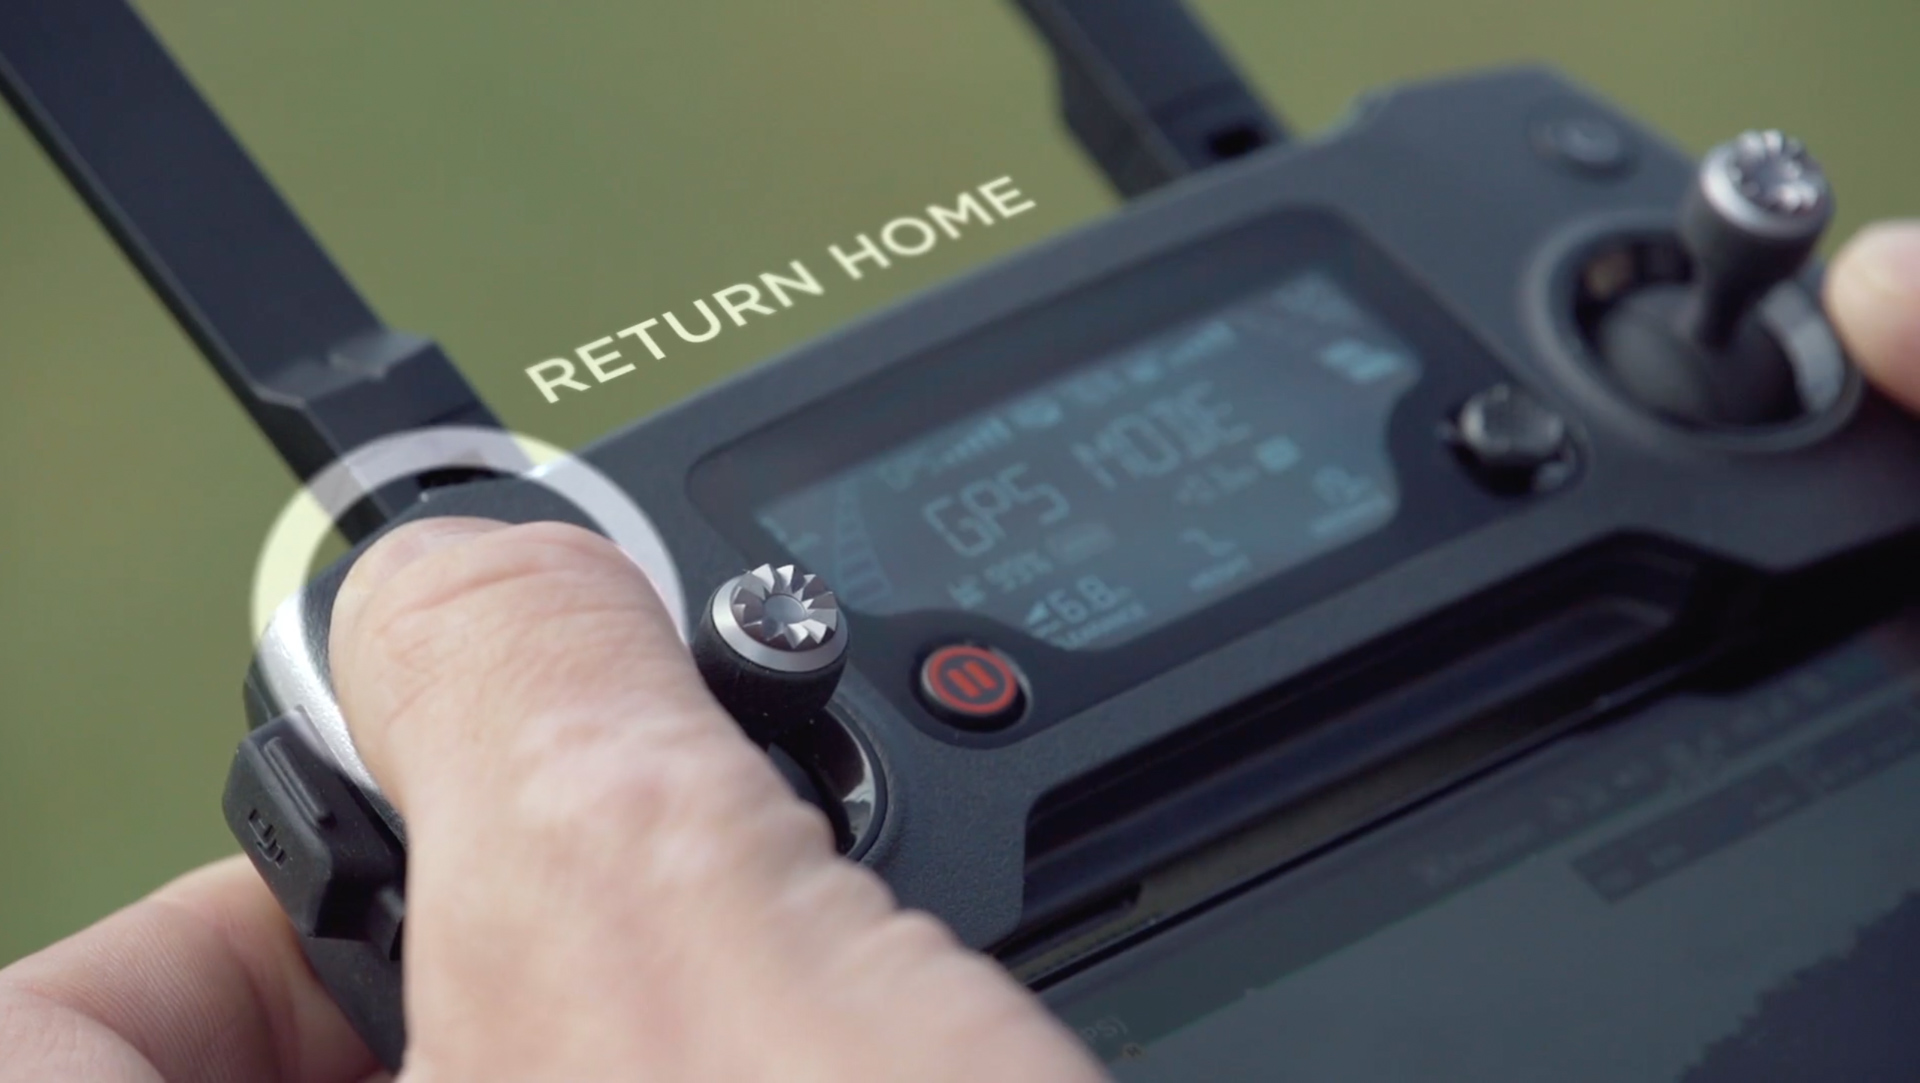
First thing’s first, you’ll need a smartphone with the latest version of the DJI Go app installed. This acts as the interface between you and the Mavic – kind of like a digital dashboard.
Before flying for the first time, run through the simple set-up process in the manual and make sure you’re in an open area away from any people, airports or buildings. The rules change from country to country so always check the local regulations on where you can fly.
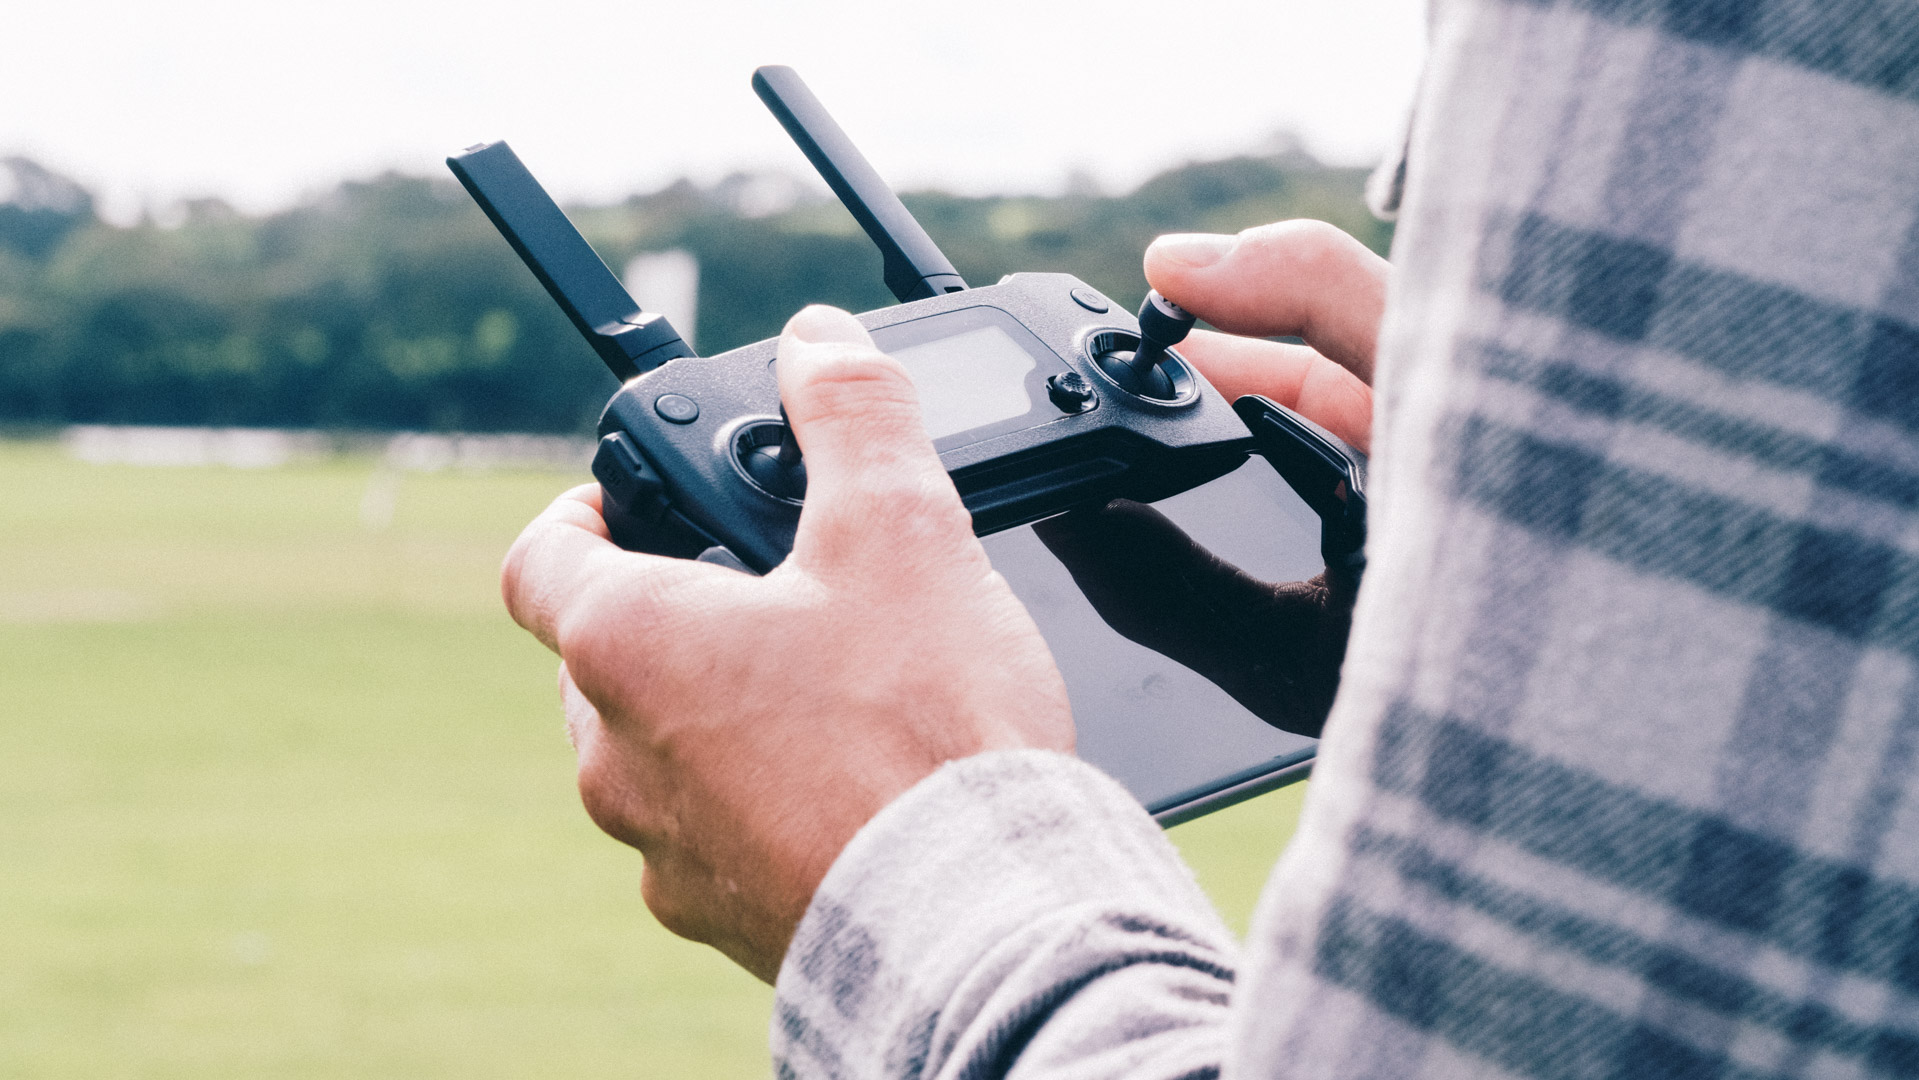
Open the grips on the remote controller, place your phone inside and connect it using the cable. Now open the antennae.
The Mavic’s arms fold out in order. The top two swing sideways, and the bottom pair swing up.
If you’re getting your drone straight out of the box, you’ll need to attach the propellors. Two of them have white rings; match these to the motors with white markings. Open out the blades, push down, and twist it like a bayonet. And that’s it! With the Mavic Pro, you don’t even have to take the props off each time you pack it away – just fold them back down.
Next, take the protective bubble off the camera, and remove the clip from the gimbal. Once switched on, the gimbal will keep the camera perfectly steady as you fly.
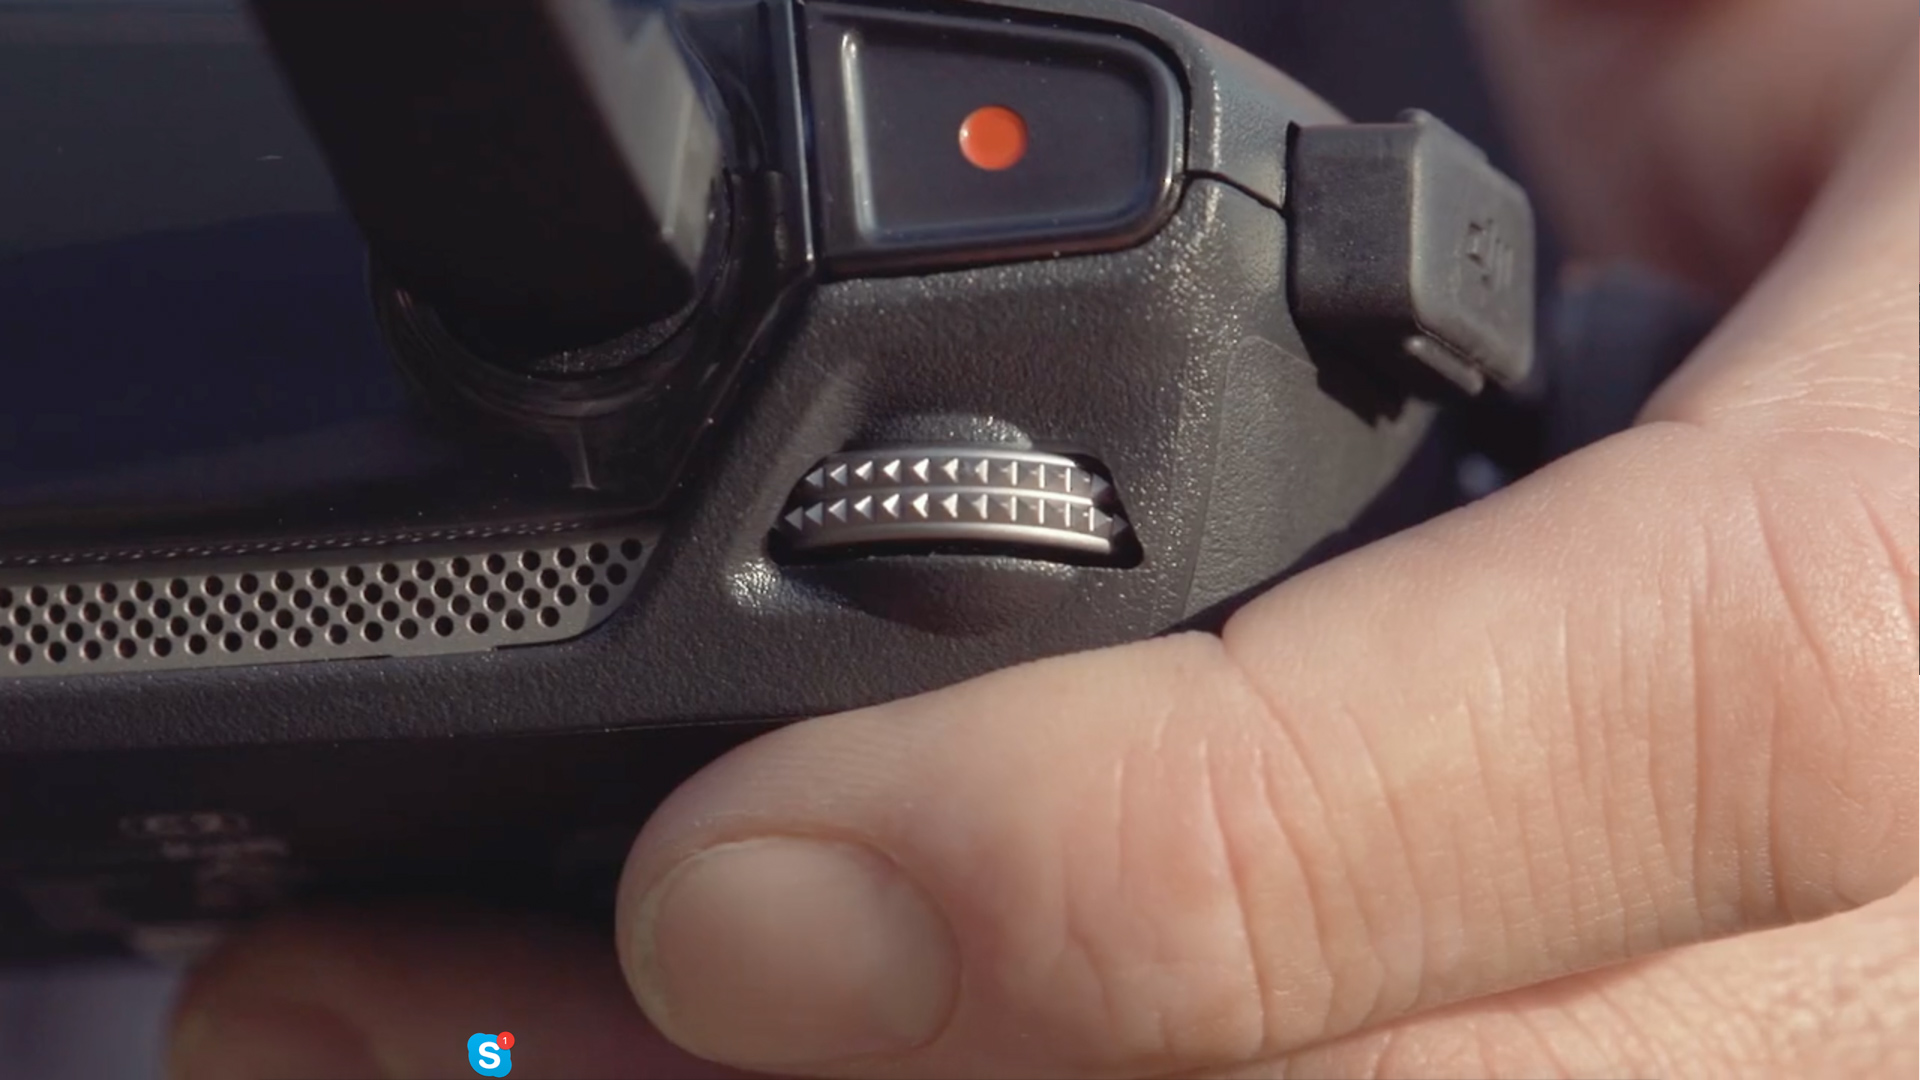
Make sure you’ve fully charged the battery – you can check the level by pressing the button once.
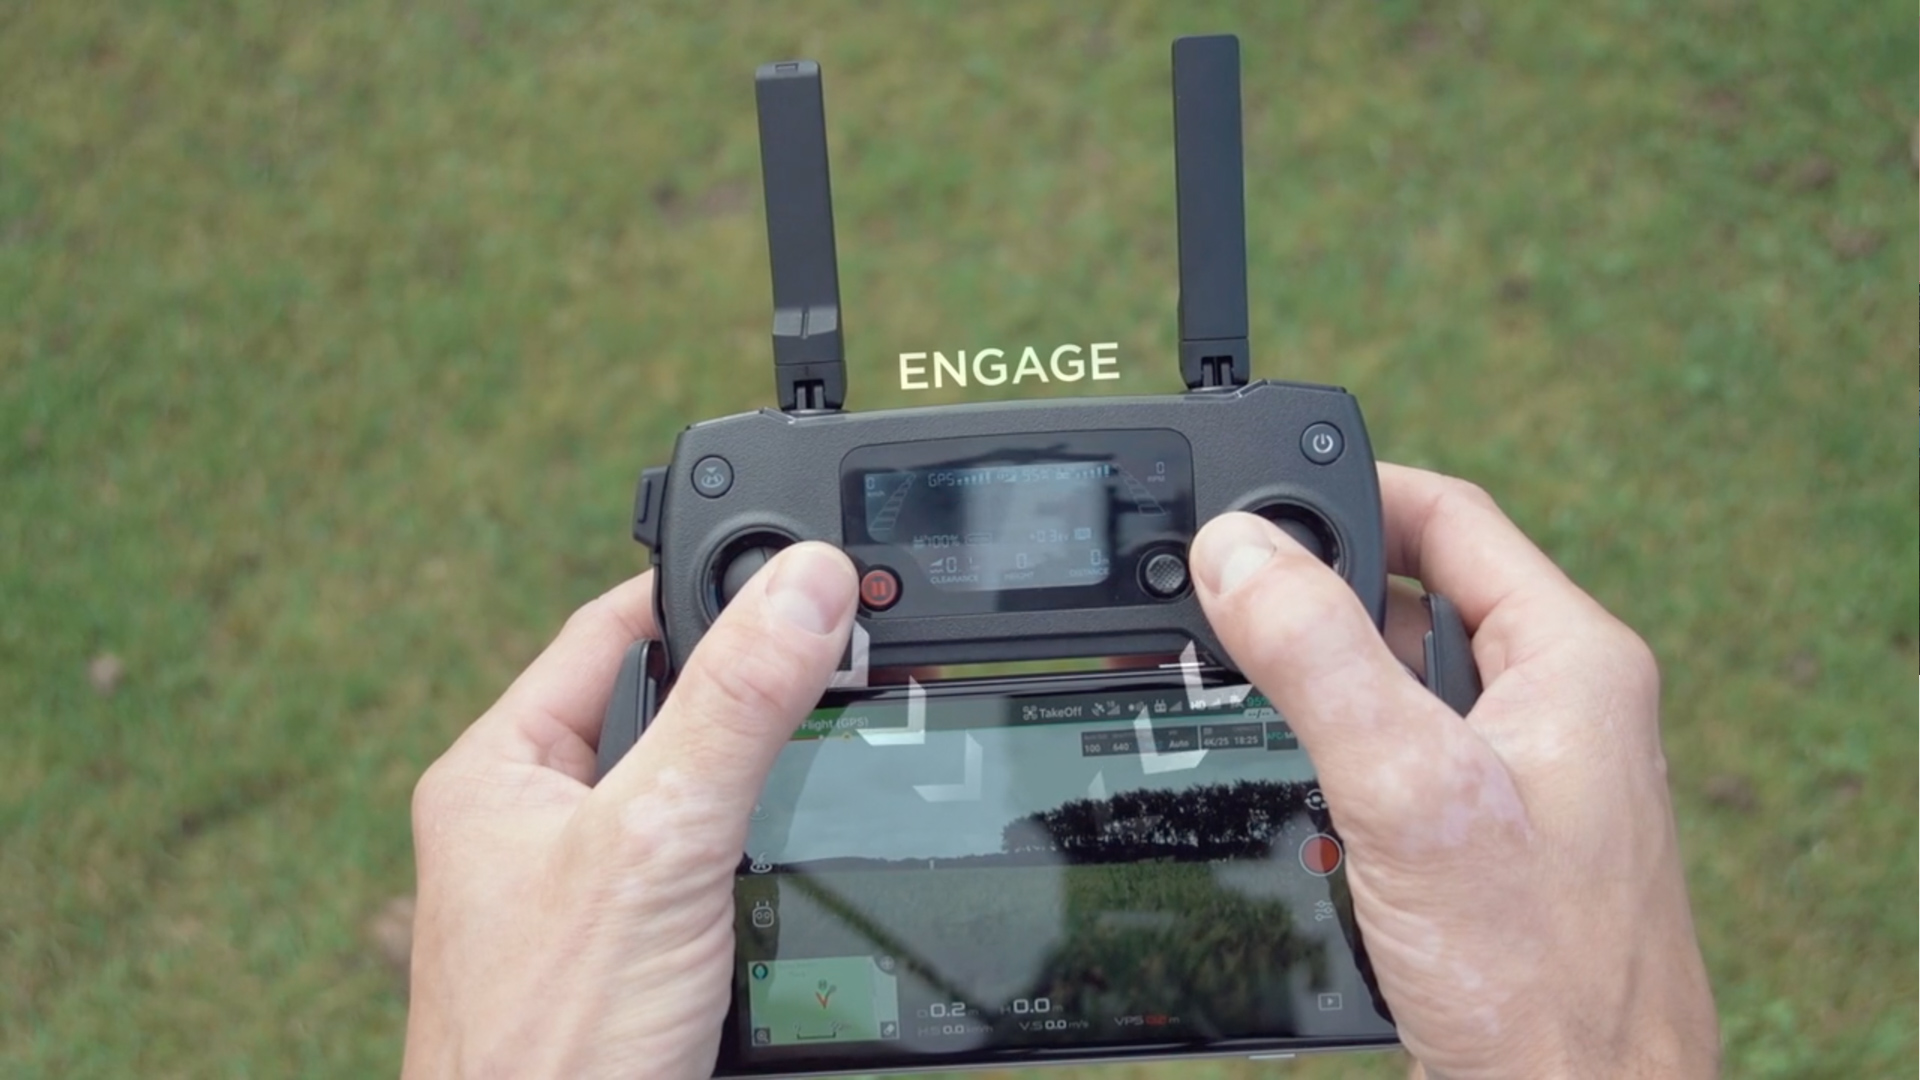
To switch the drone on, press the button twice, holding it down for two seconds on the second time. You’ll hear a distinctive beep when it fires up.
Do the same with the remote controller and wait for the app to connect.
It’s good practice to perform a compass calibration before flying. To do this, select ‘Compass Calibration’ in the menu, then spin the Mavic 360 degrees horizontally, until the light flashes. Now turn it on its end – so the nose is down – and spin it another 360 degrees. The light should flash again.
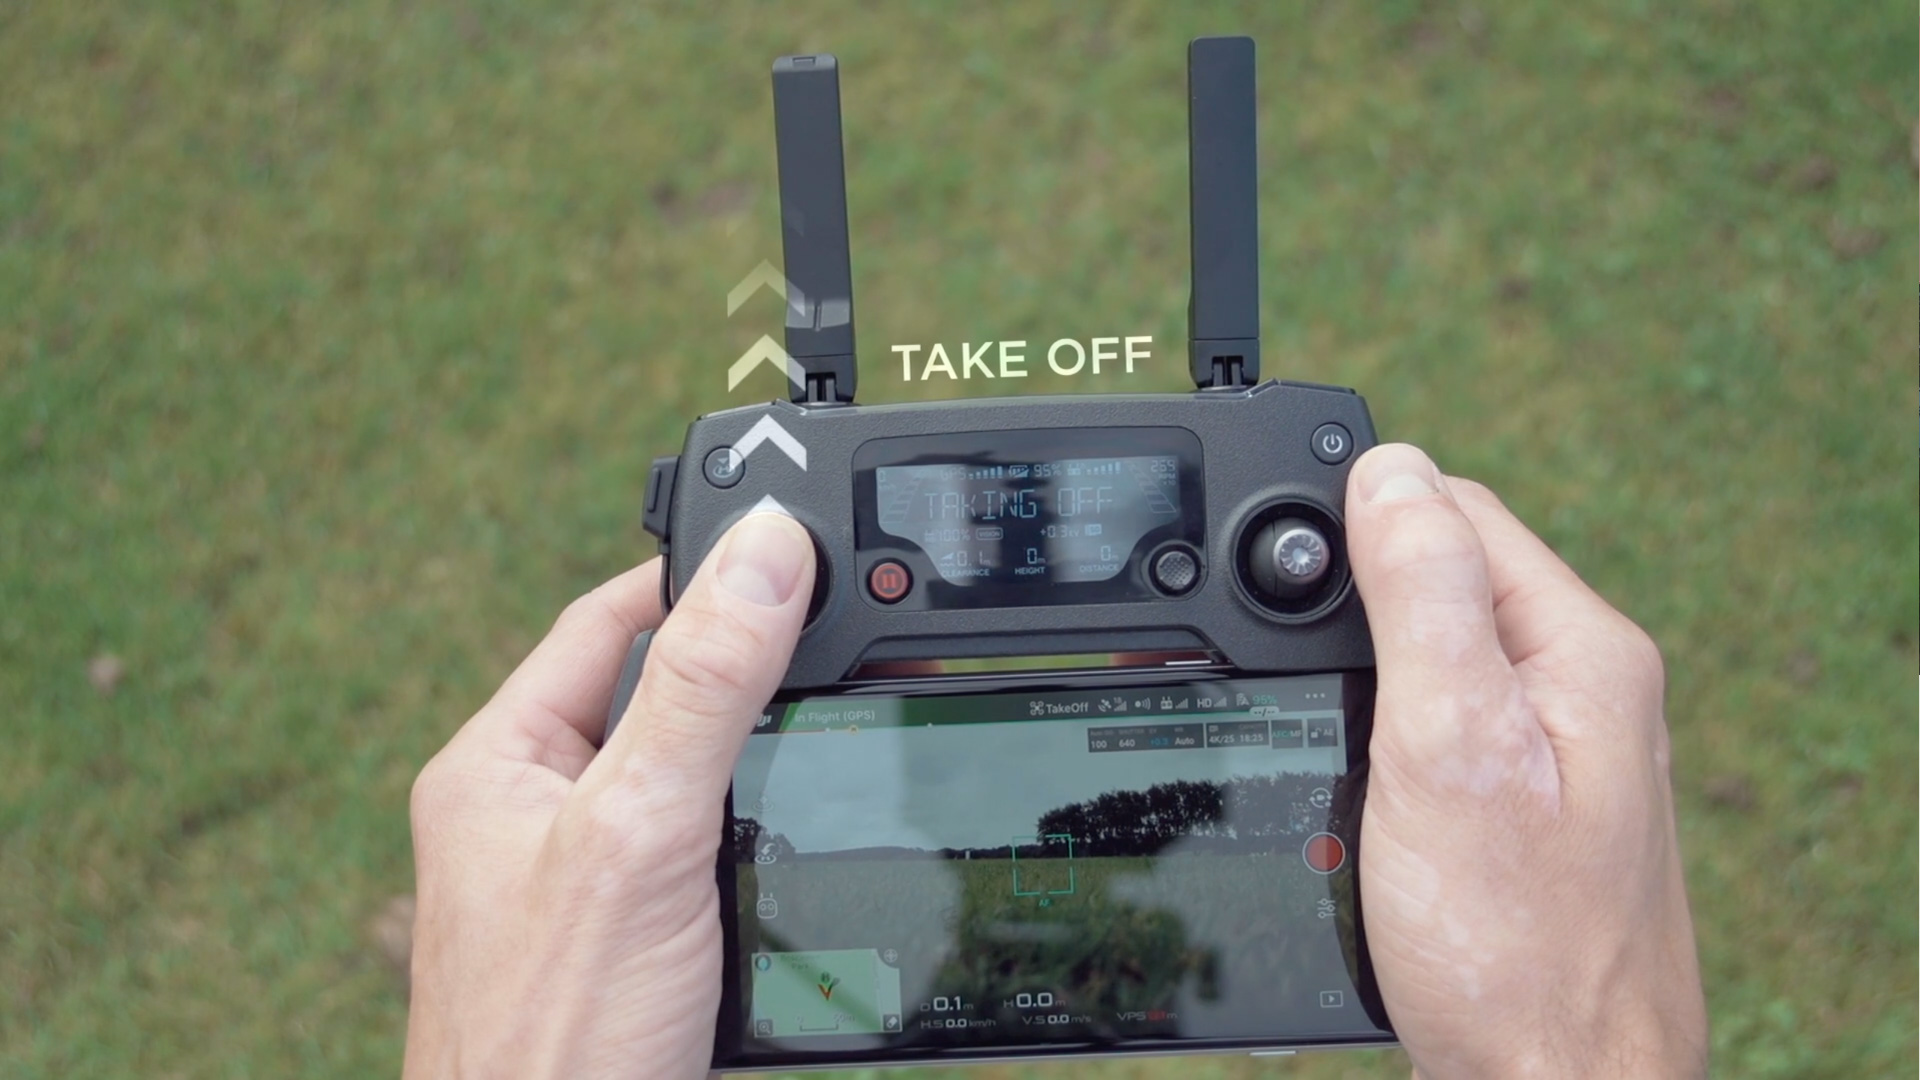
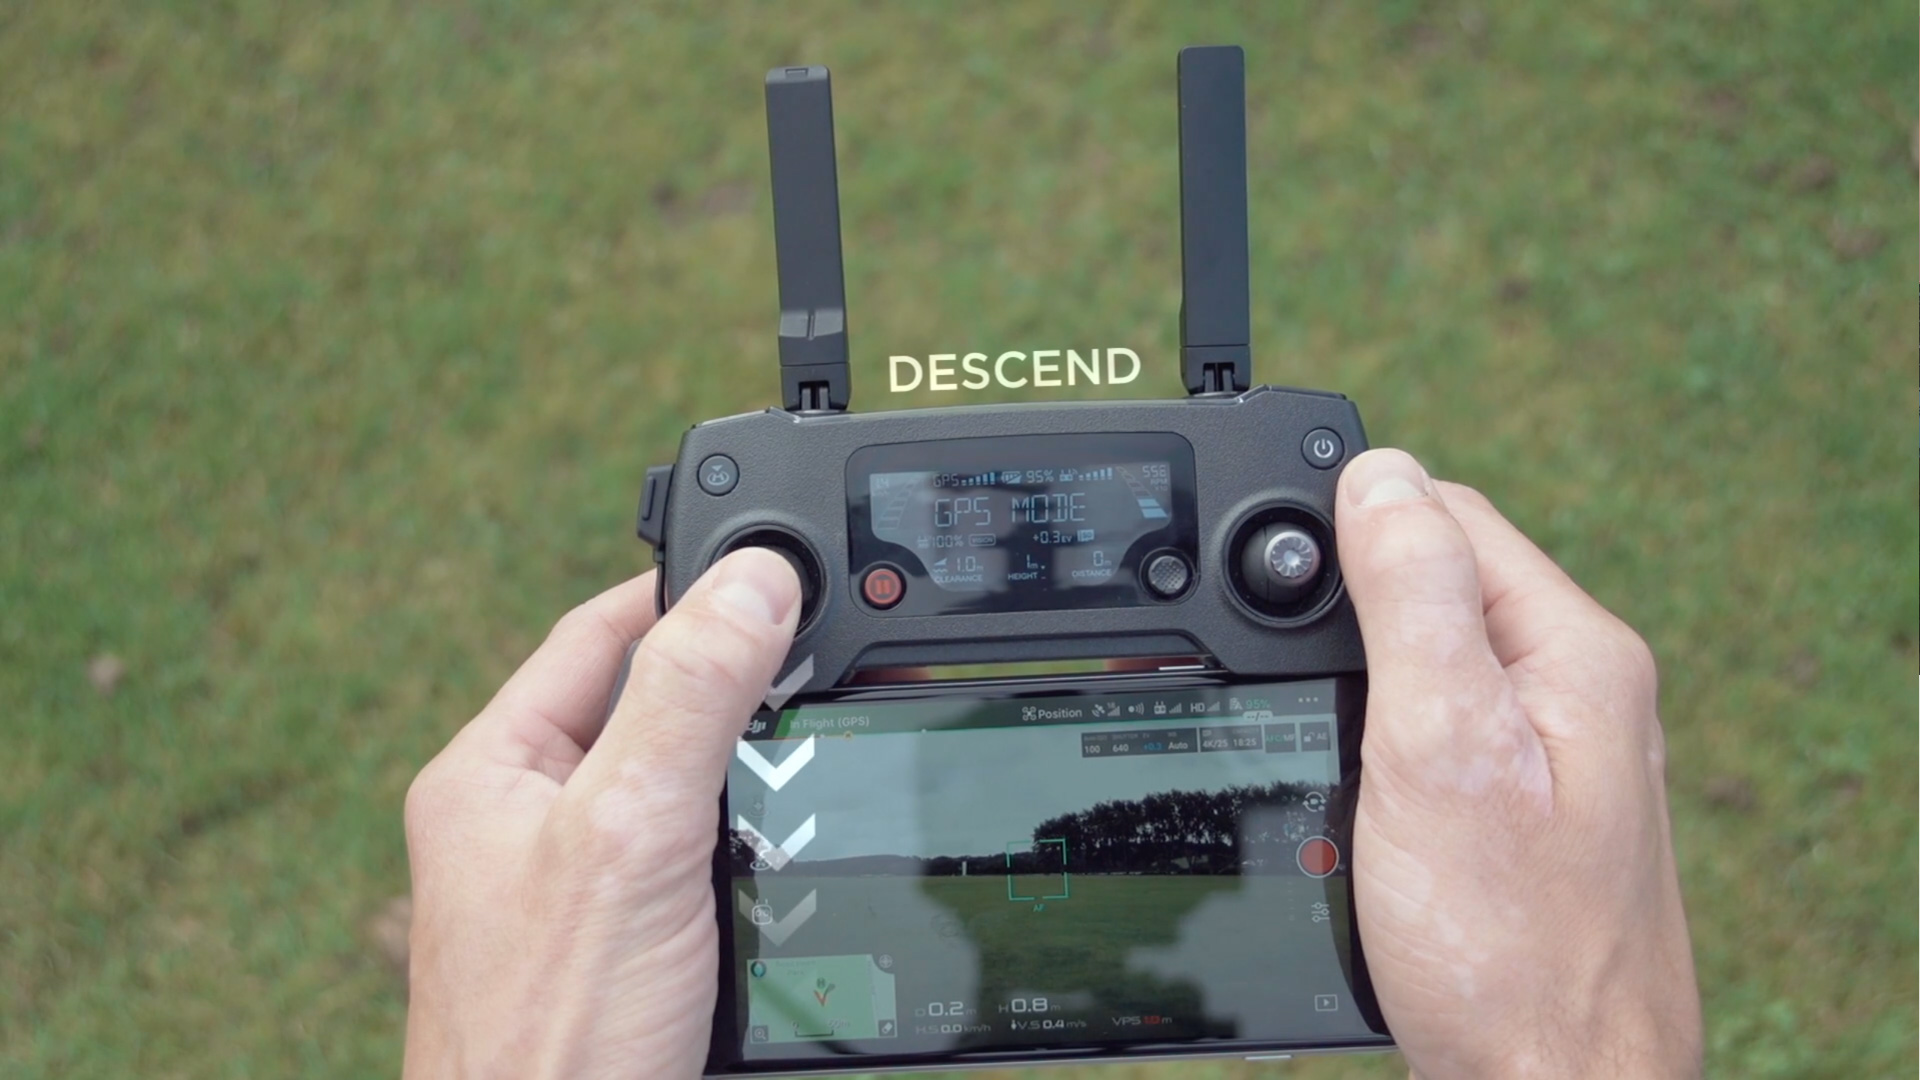
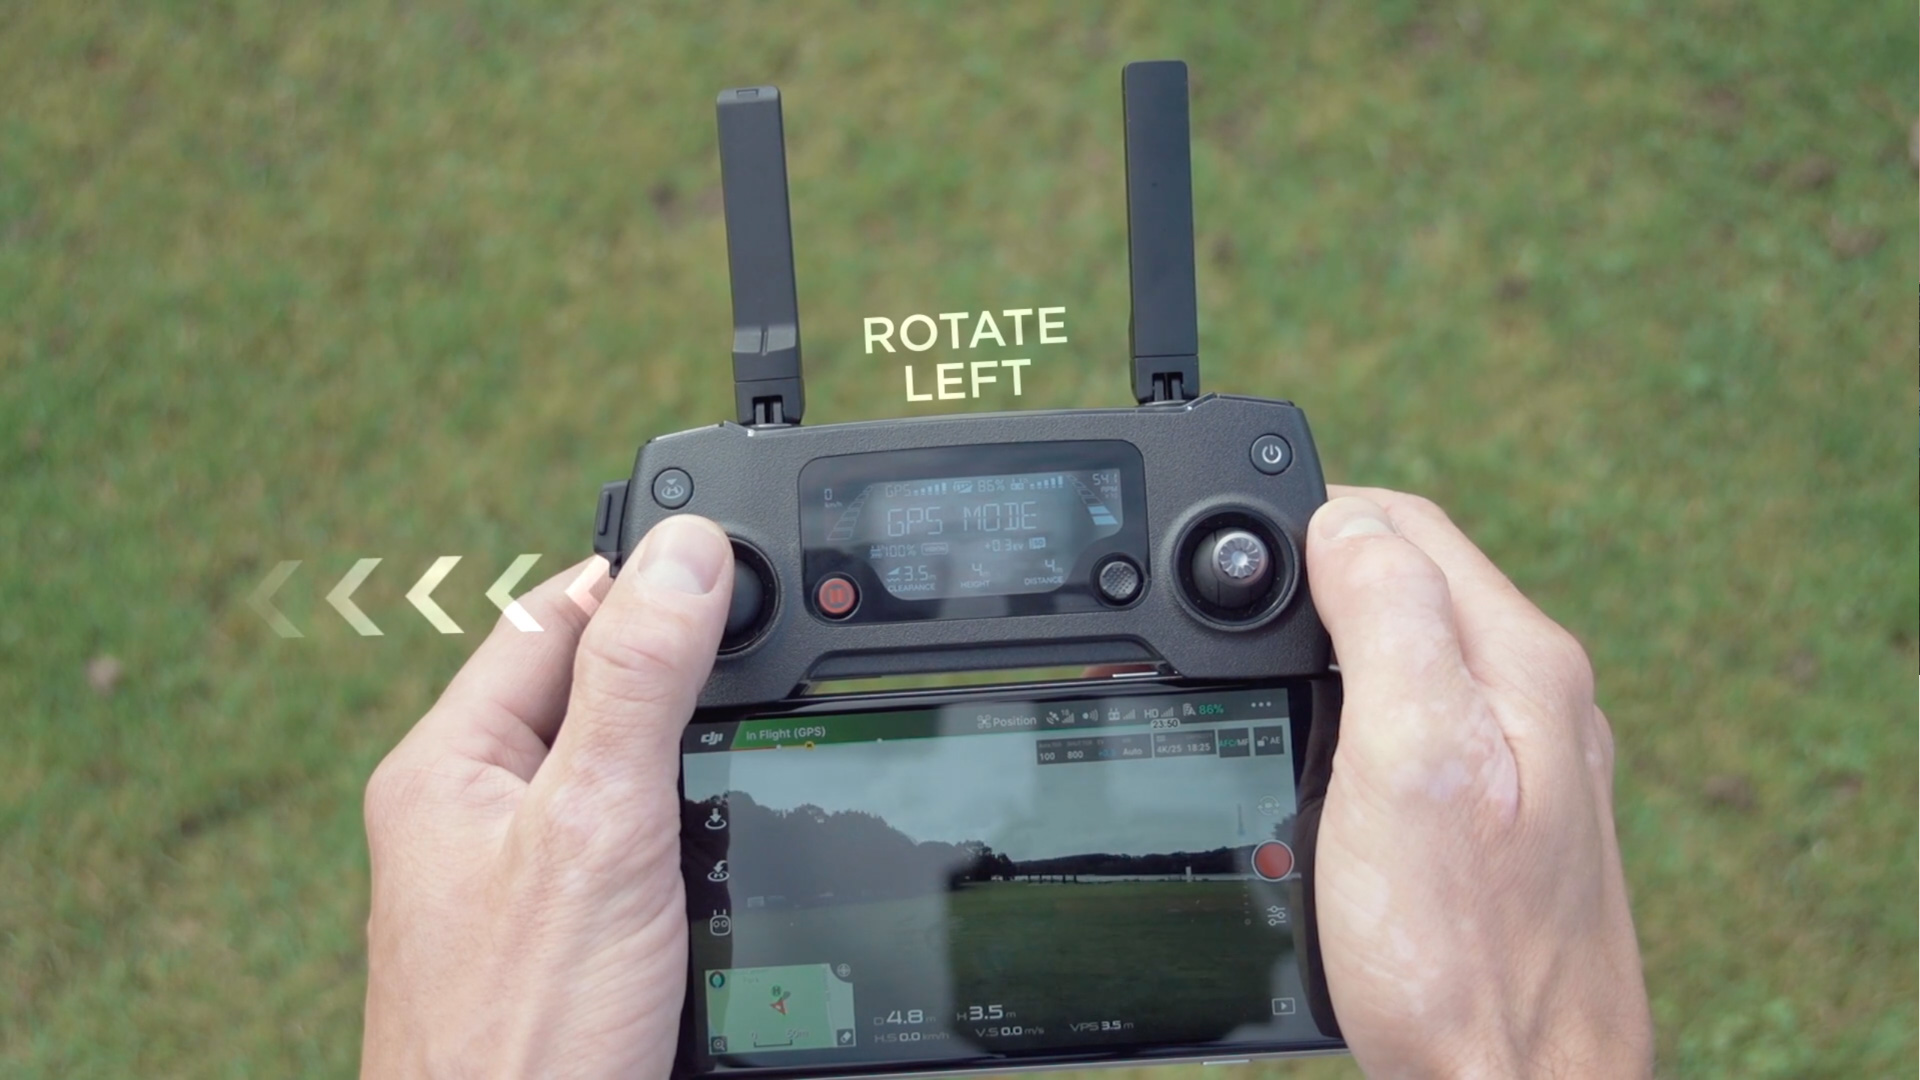
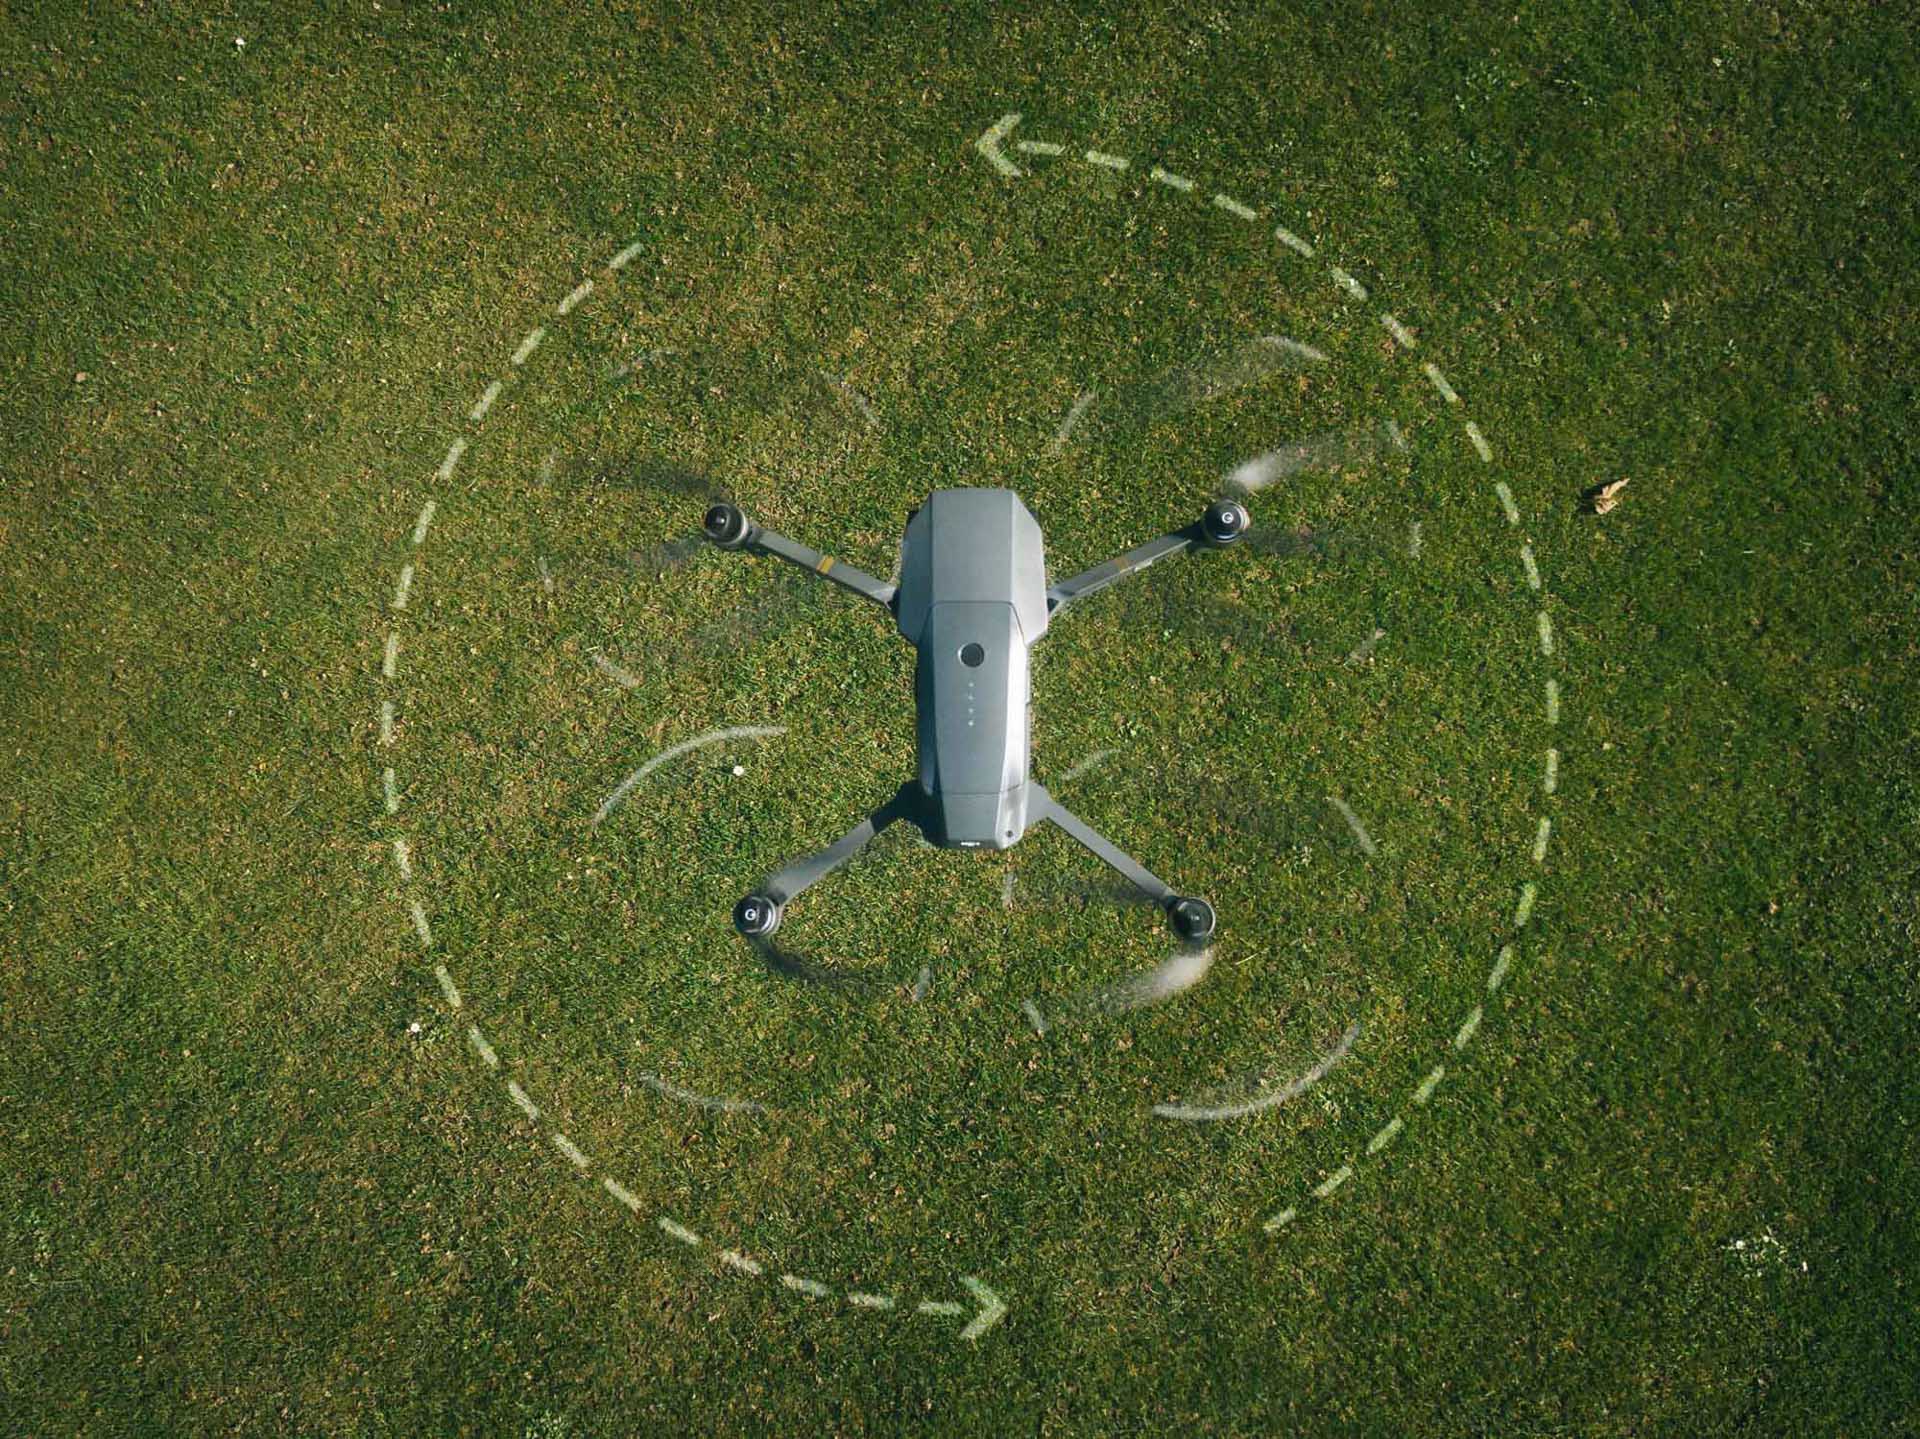
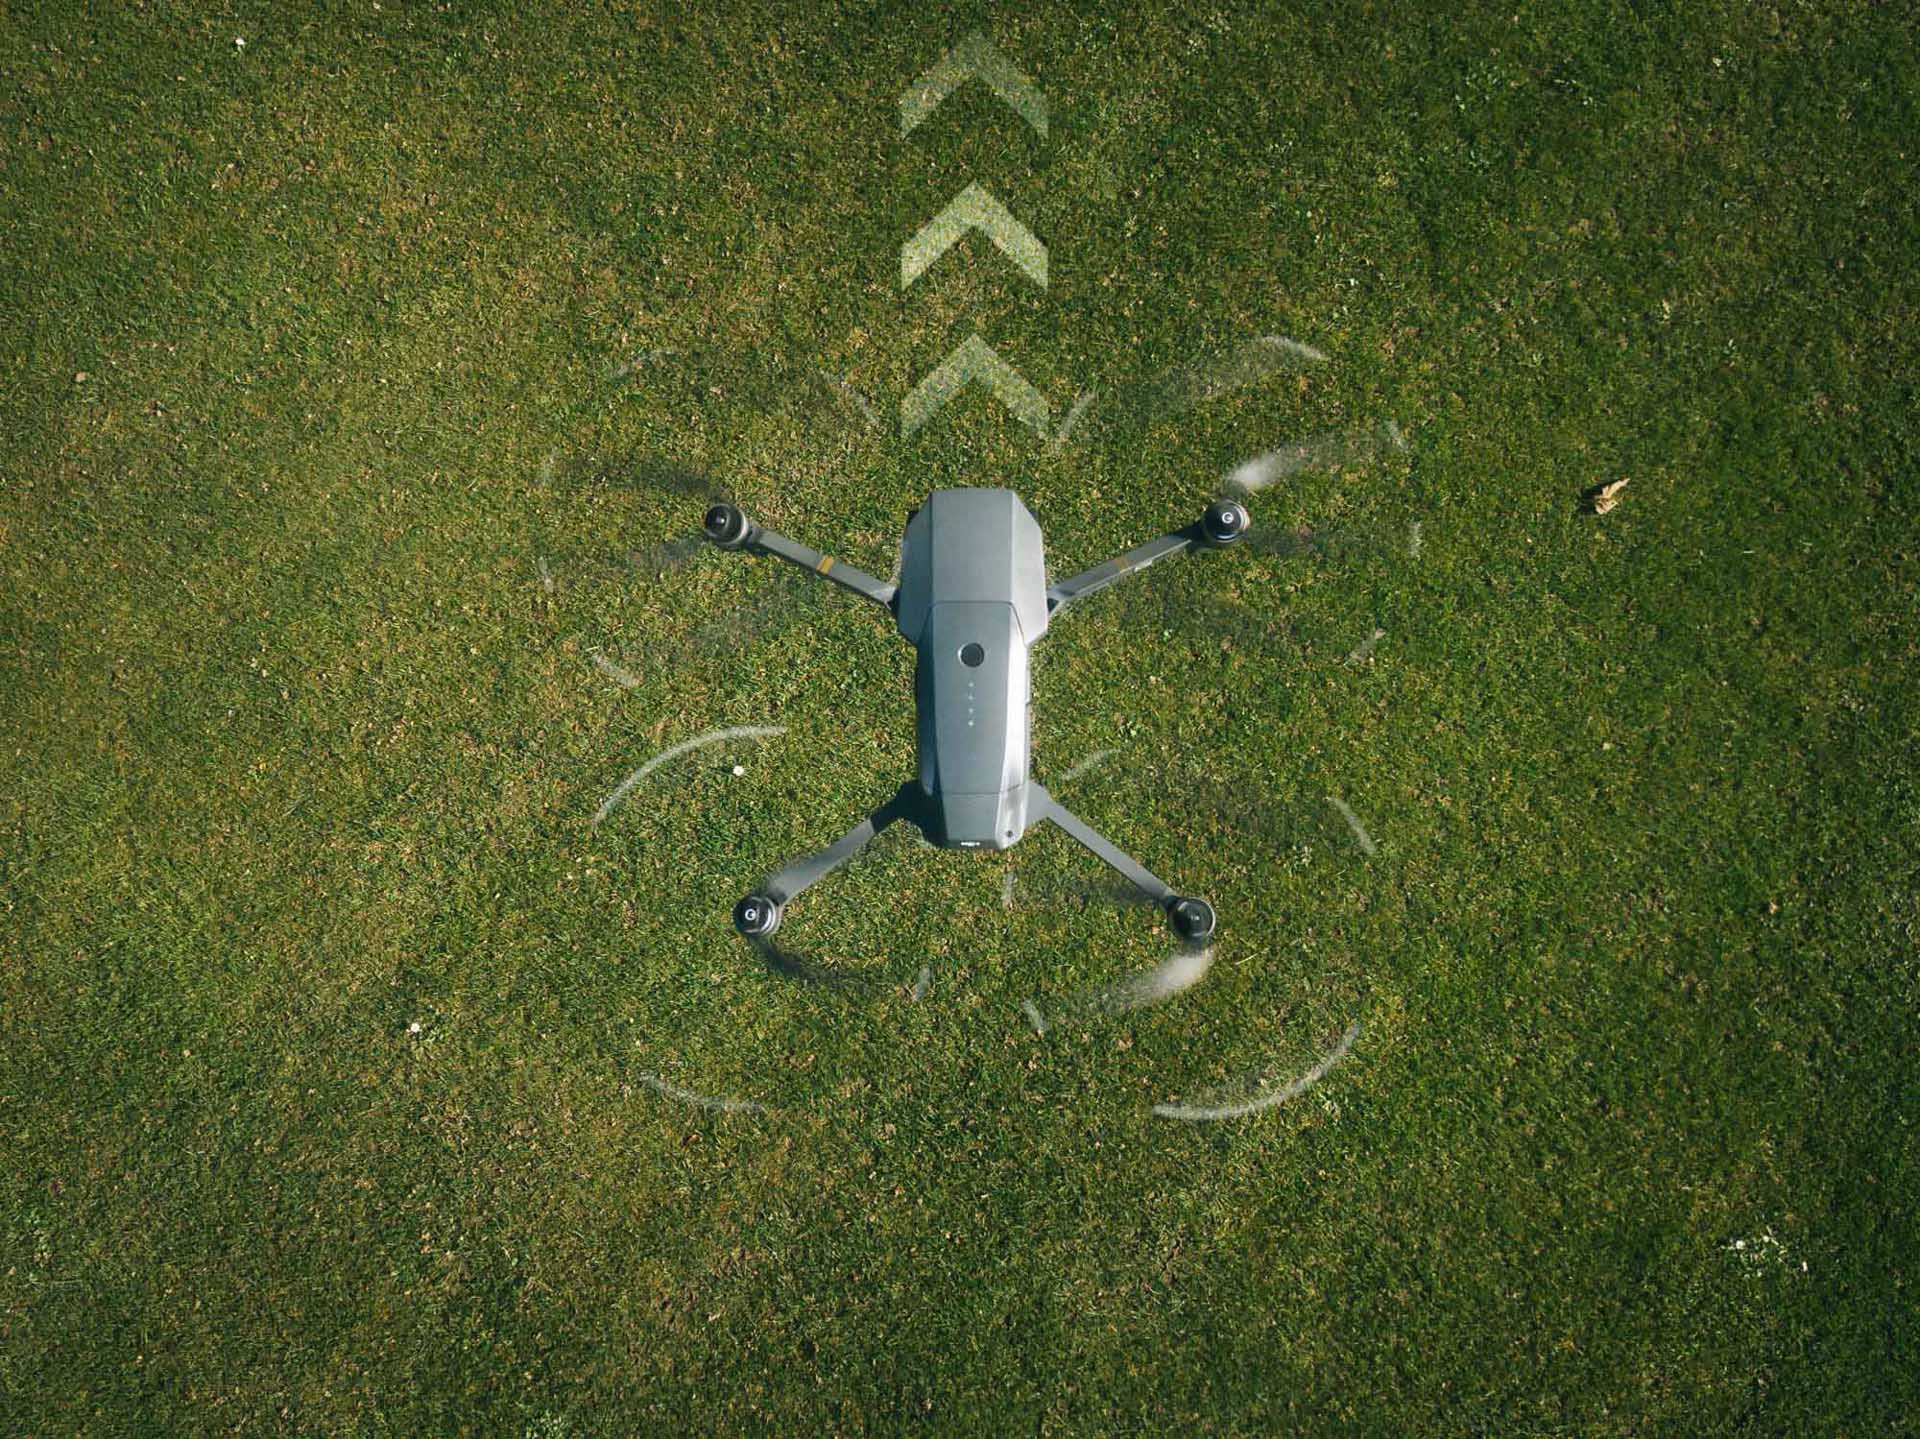
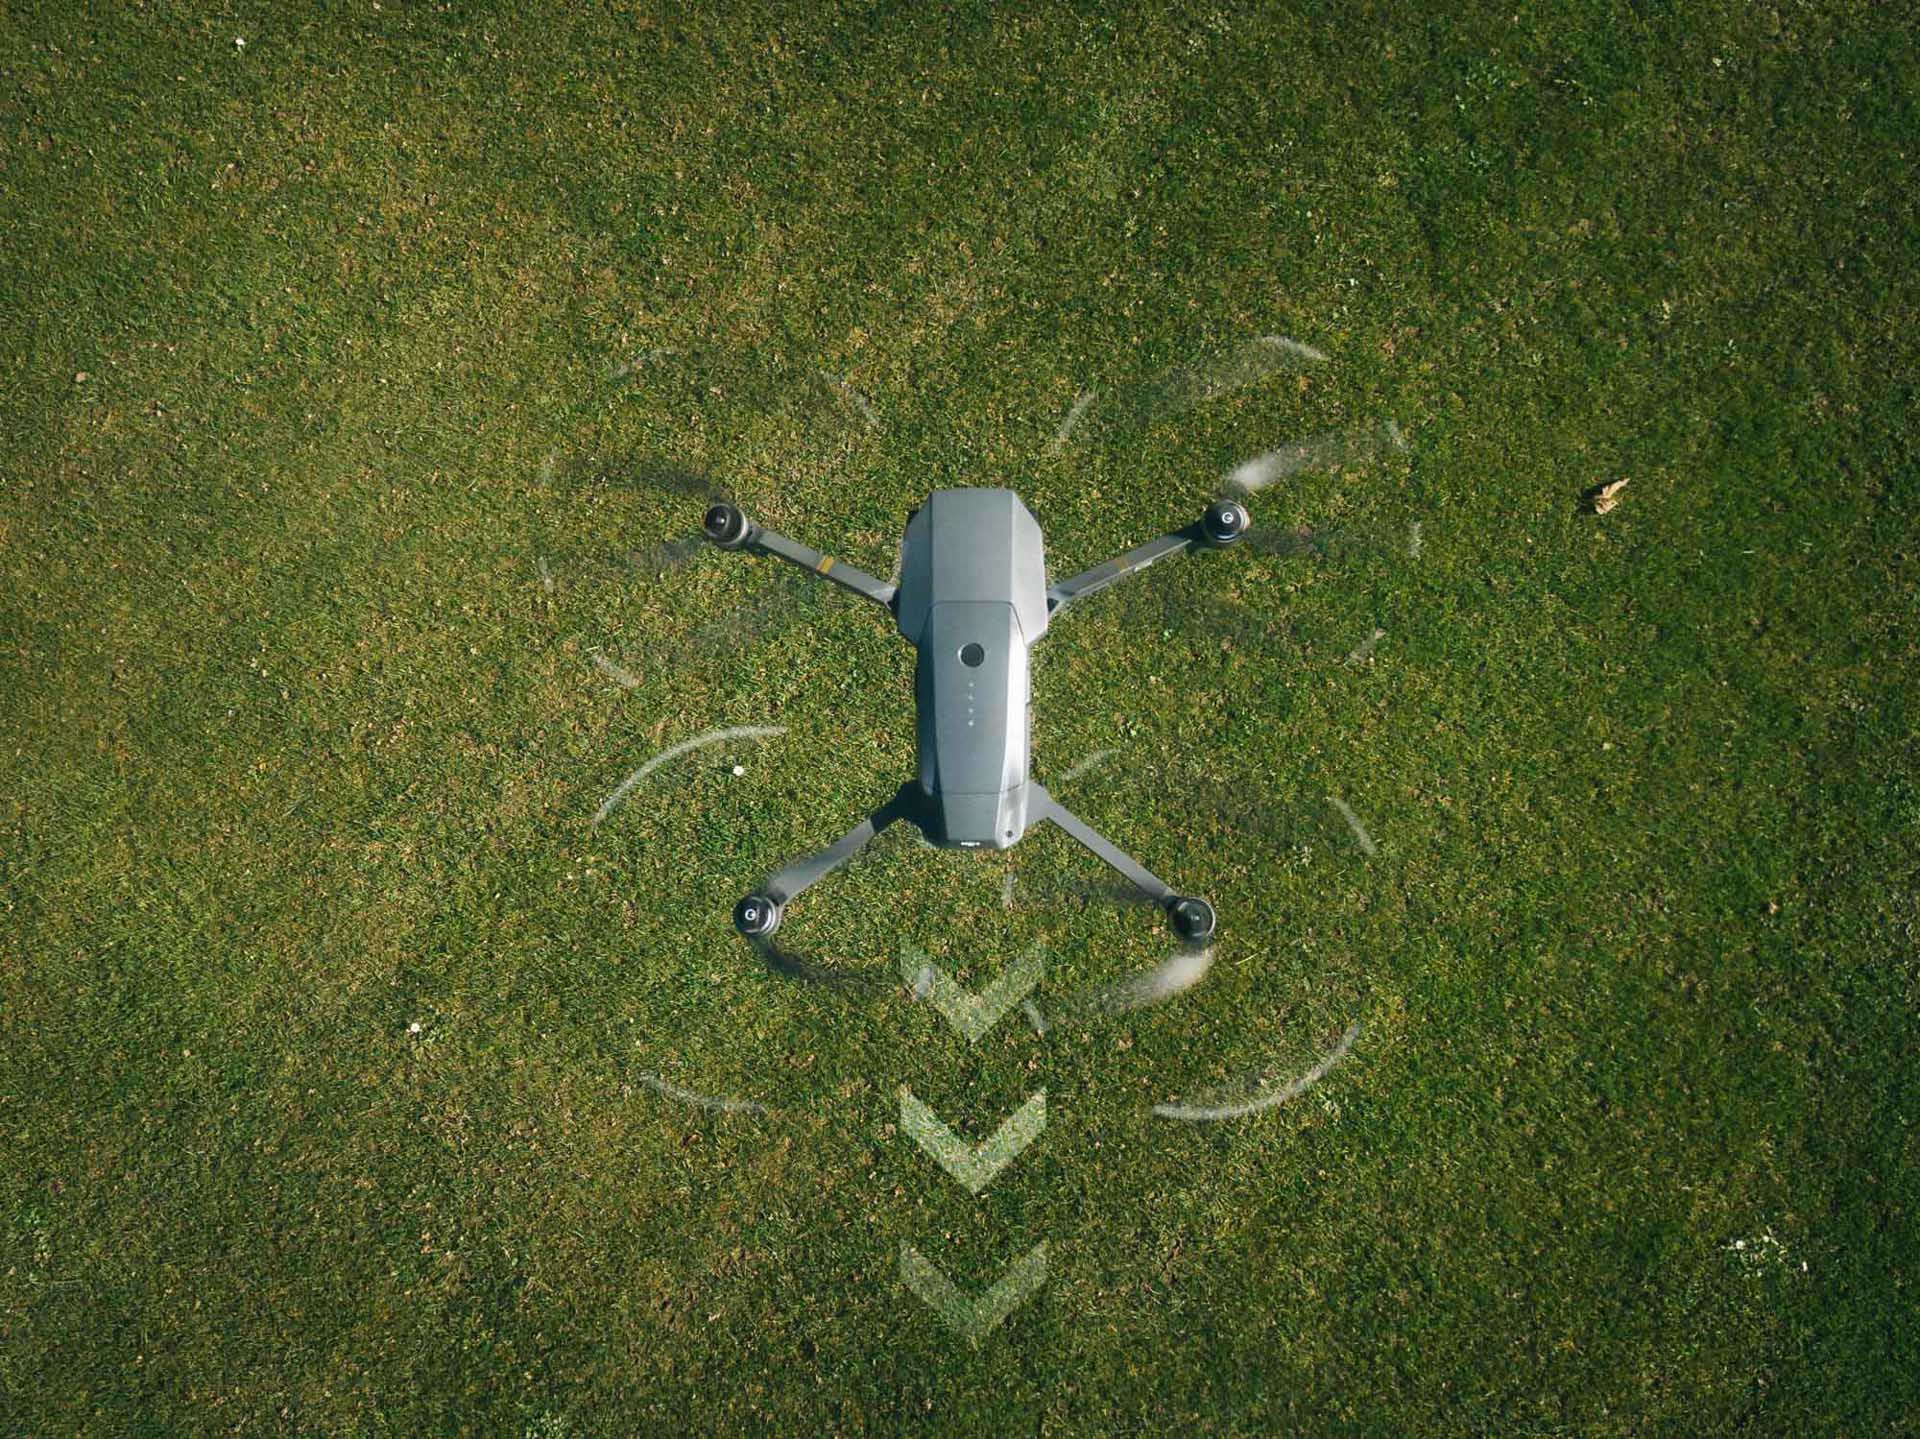
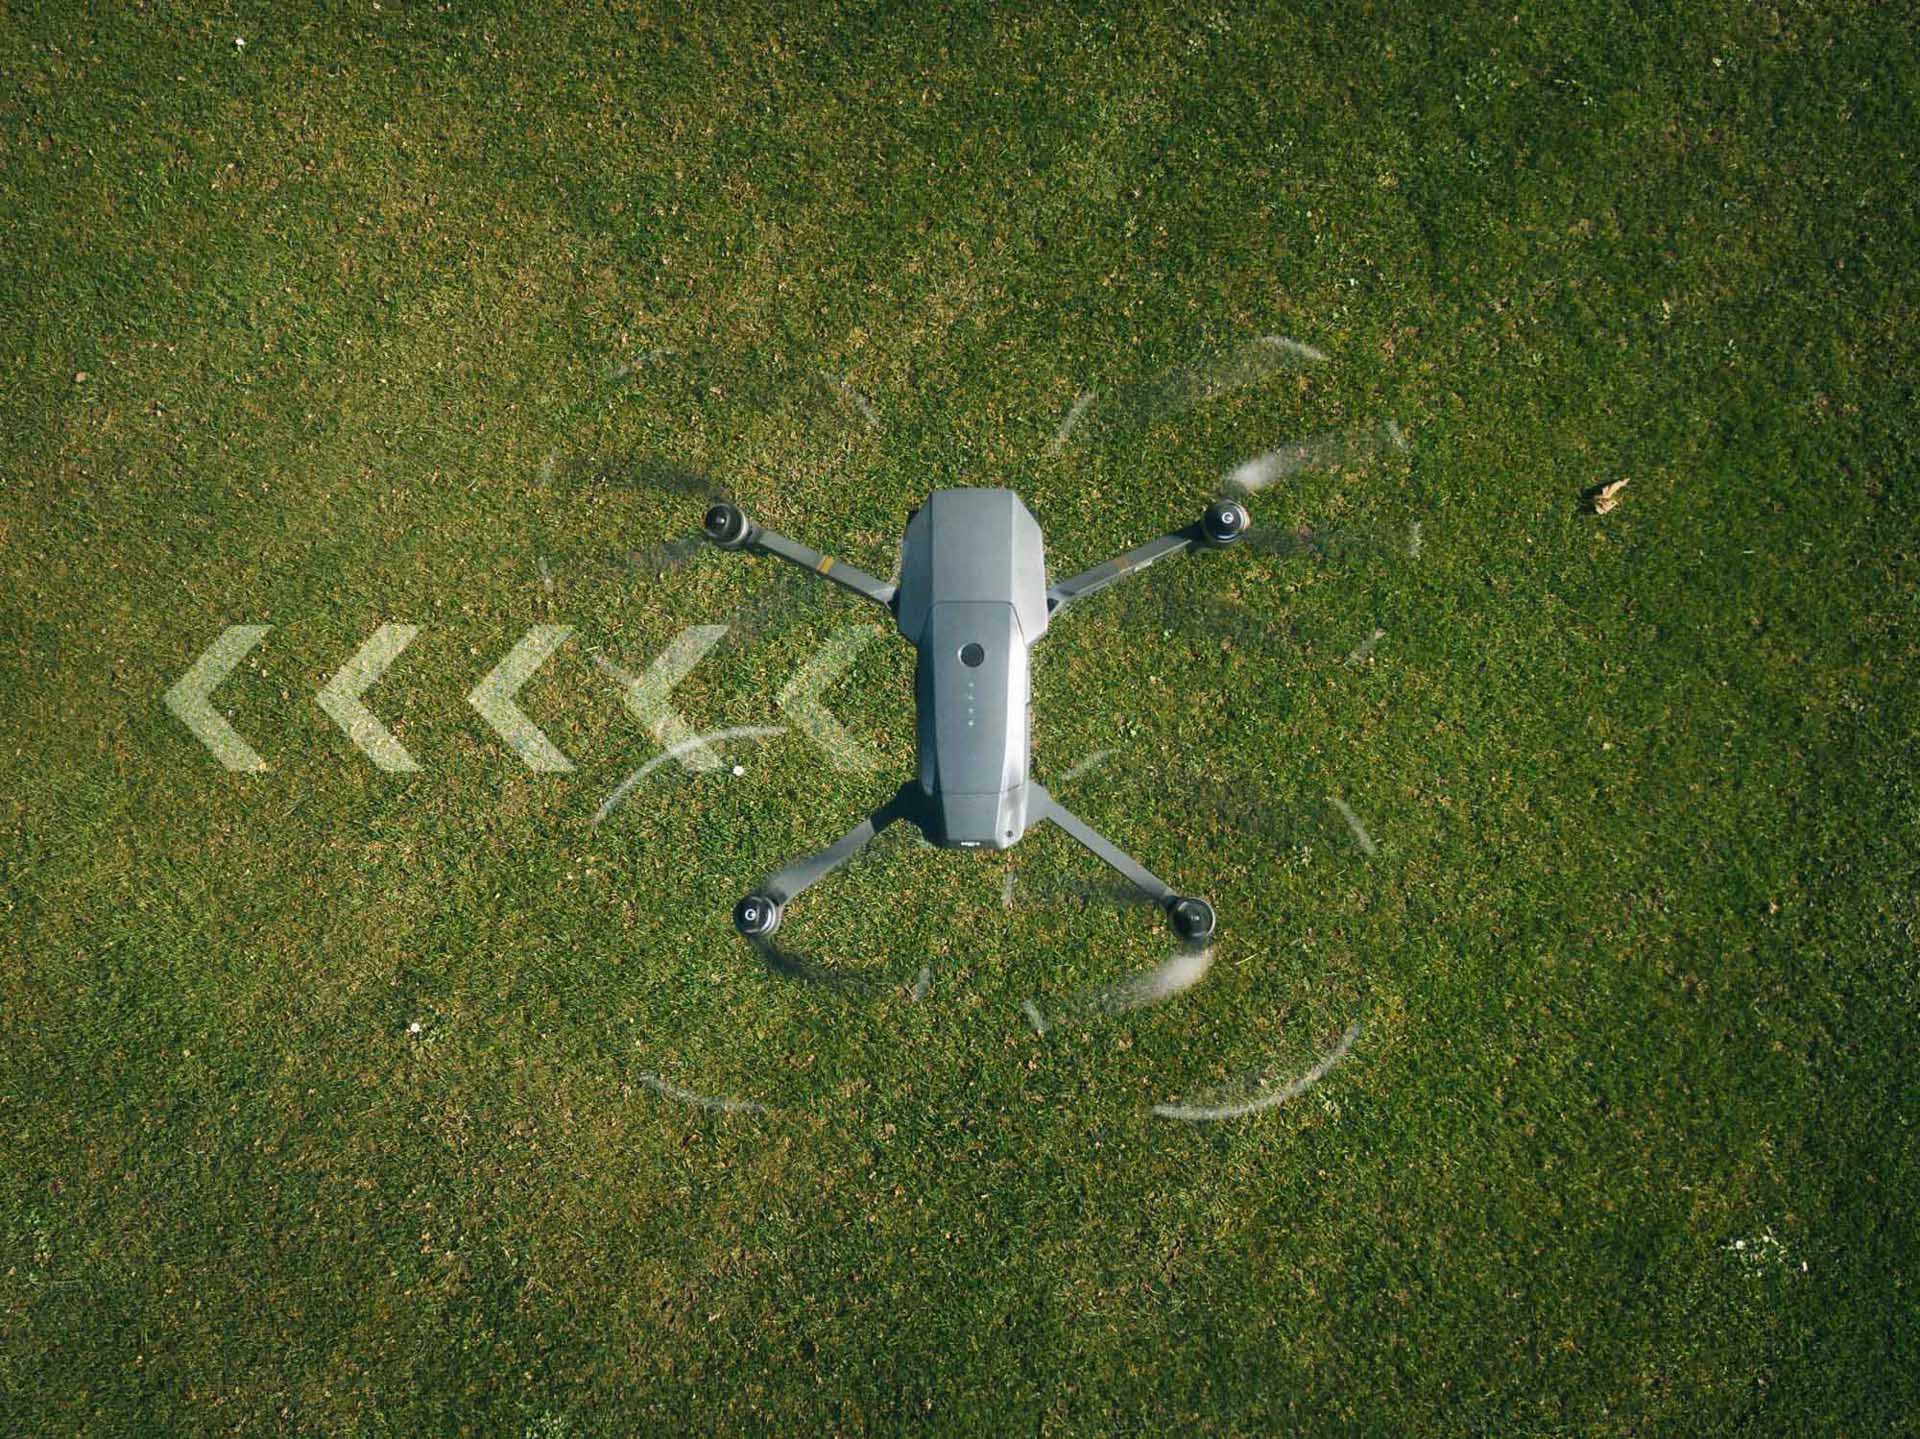
Once you have GPS signal, you’re ready to fly!