Salomon and Atomic STH 13/16
Toe wing adjustment – Loosen the toe wing screw and tighten until the toe makes contact with the butt plate. Don’t over-tighten.
Toe height – Loosen the toe height until there is a gap. Pull boot up so you can view the gap between boot and AFD, whilst pulling boot up tighten the toe height till there is no gap.
Forward pressure – Set the forward pressure using the screw, adjust until the screw sits flush with the plastic housing
Marker Jester, Griffon or Squire
Forward pressure – Set forward pressure using the screw at the rear of the heel piece, adjust until the screw sits flush with the plastic housing.
Toe height – Remove the boot and place the height test strip on the AFD. Insert boot. Adjust the height until you can pull the test strip until the green mark appears, before then tearing just after.
If the red mark becomes visible then stop and adjust the height by turning the screw counterclockwise, increasing the height of the AFD. If the test trip tears too soon the adjust clockwise, reducing the height of the AFD.
Recheck the forward pressure a few times by taking the boot in and out of the binding. Re adjust if needed
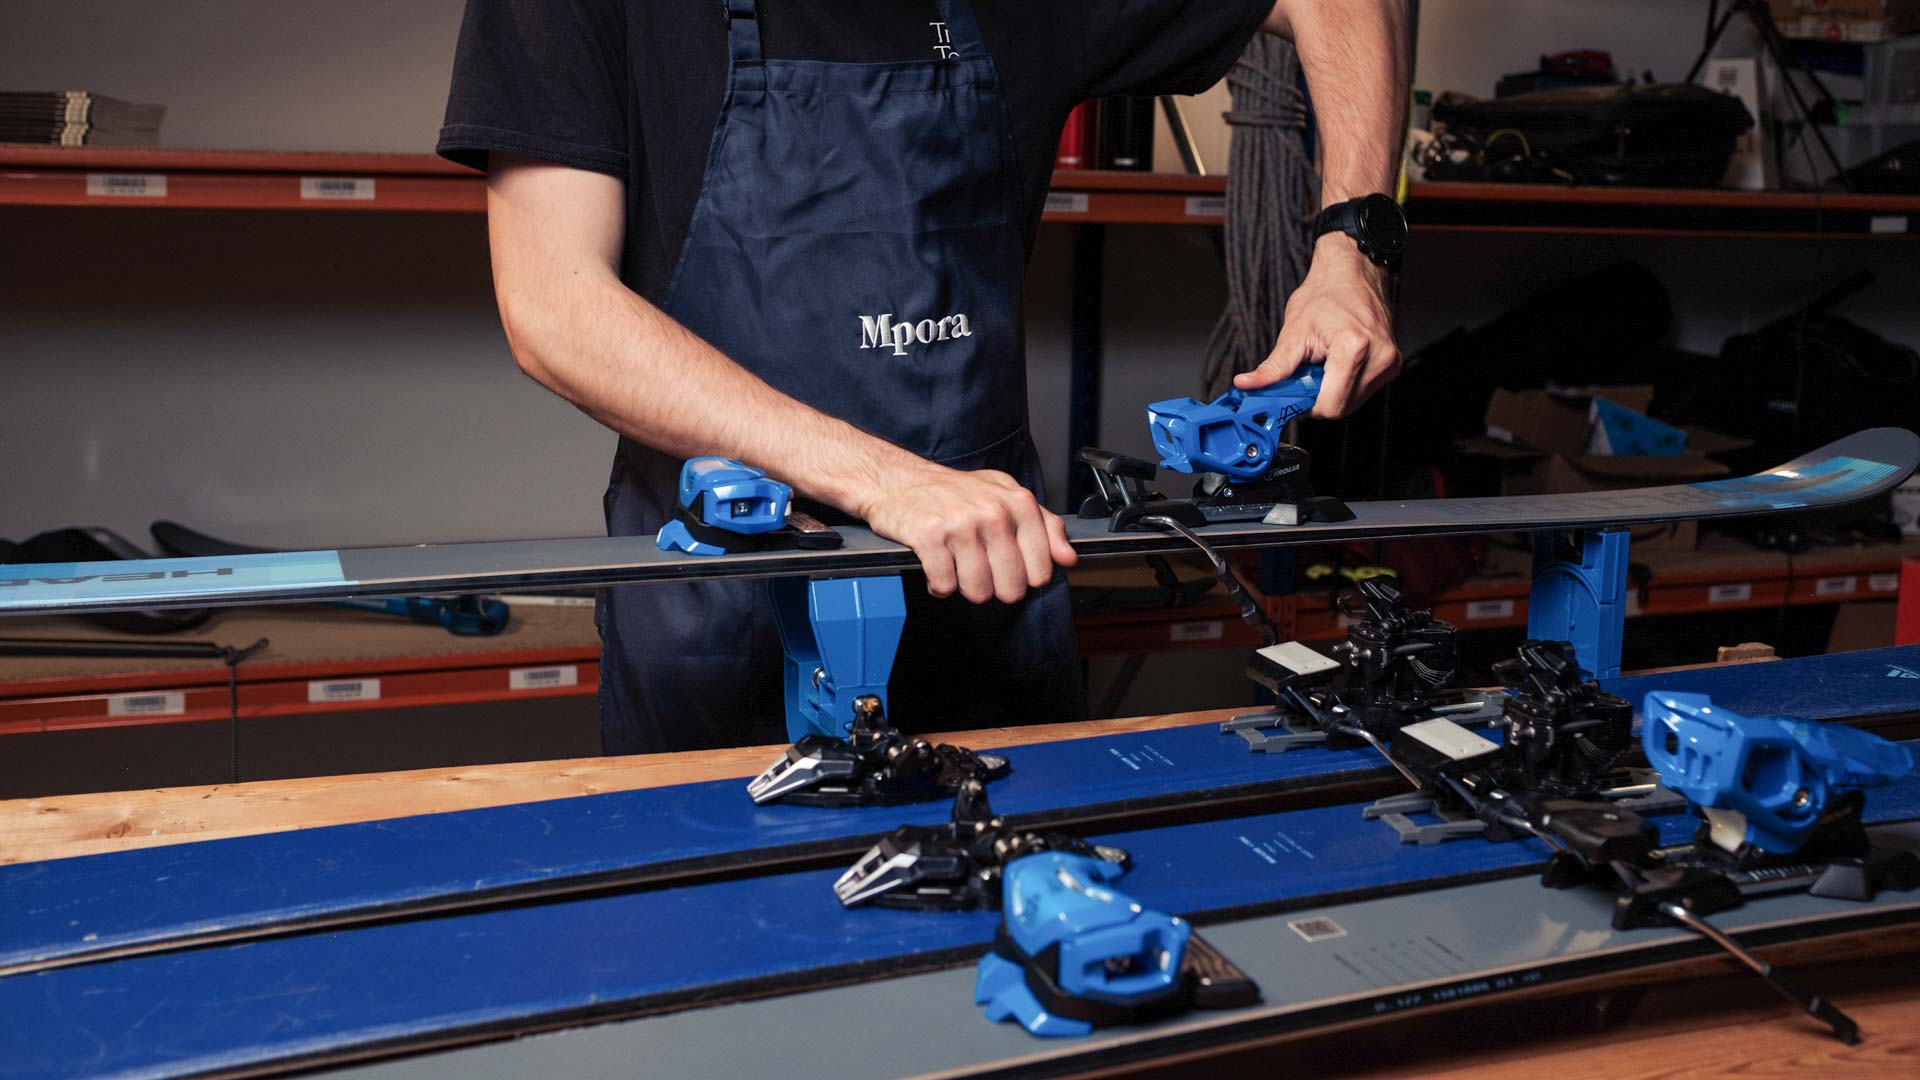
Tyrolia Attack 2 GW / AT
Toe height – Place the Tyrolia boot height tester on the AFD. The aim is to create a set gap of 0.5mm. Adjust the toe height up or down to reach this.
The test strip should be removable with a slight resistance. If it can’t be removed, adjust the toe height down. If it is removed without resistance, adjust the toe higher.
Forward pressure – The indicator notch should be within the dashed area on the heel piece. If it is not, remove the boot and adjust the length by lifting the lever, then pressing it down to lock. Reinsert the boot to ensure forward pressure is correct.
Look Pivot
Forward pressure – Adjust heel by lifting tab with a phillips screwdriver found on the back of the heel until the boot can click in.
Snap the boot into the binding and set forward pressure using the screw at the rear of the heel piece, adjust until the screw sits flush with the plastic housing.
Remove your boot and then reinsert with the test strip under the toe (for adjustable AFD Pivots). The test strip should be removable with a slight resistance. If it can’t be removed, adjust the toe height down. If it is removed without resistance, adjust the toe higher.
**********
Ready to buy? Check out the latest ski bindings at Surfdome.
You May Also Like
How To Pack A Ski Bag For Travel
How To Sharpen Skis
How To P-Tex Repair Skis

