How to Huck Cliffs | Our Expert’s Guide To Getting Sendy On Skis
Always wanted to drop cliffs on skis? Here's our expert's guide
Planning on getting sendy this winter? Or maybe you’re thinking that getting air under your skis is reserved for the reckless? Wherever you’re at with your skiing or riding, learning how to huck cliffs this winter is within reach for you.
“If you can link turns together, then you can take air”
If you can link turns together, then you can take air. Start as small as you like on the friendliest terrain and work your way up from there. Like any sport, this is all about progression. Here’s our top tips for stomping cliff drops, whether they’re one-foot or ten-foot tall.
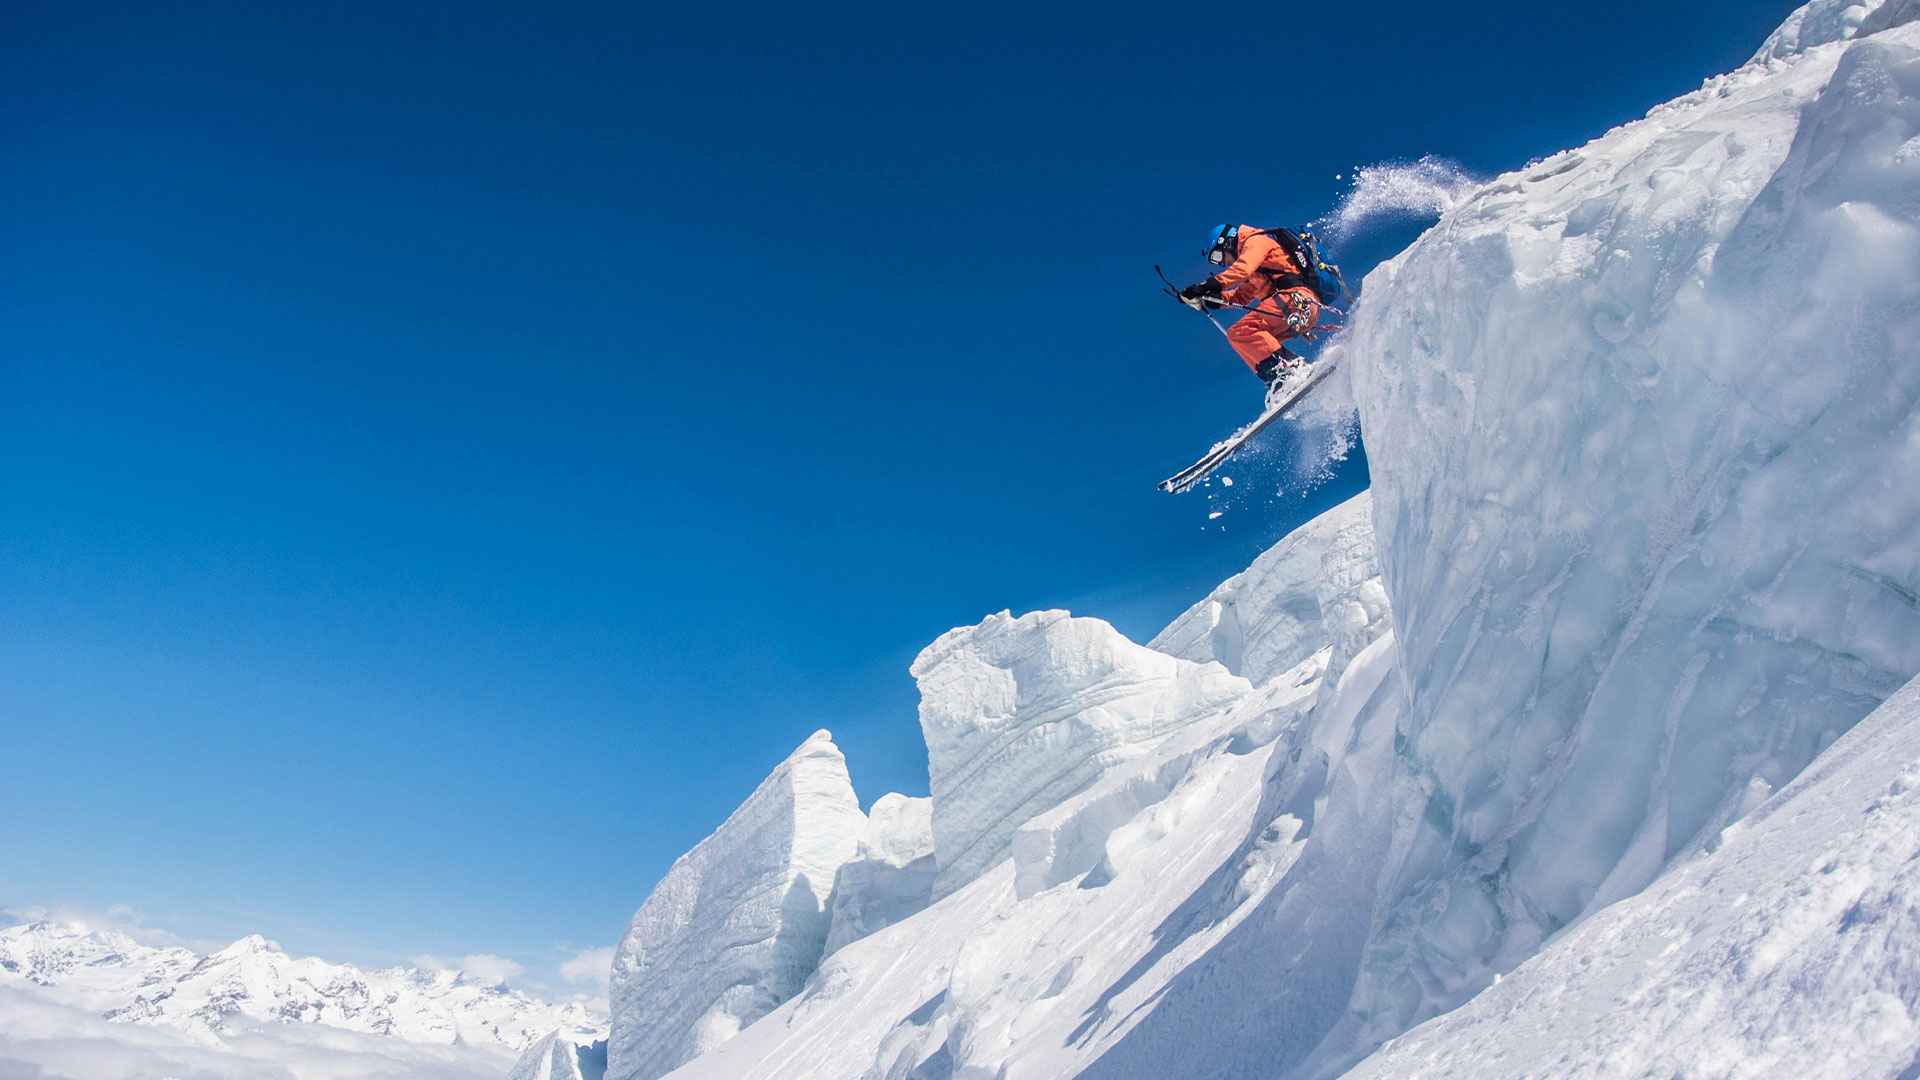
Image: Jordan Tiernan
Start Small
If taking air is completely new to you, start by jumping around wherever you can to find your balance. Get a feel for air beneath your feet as you ride over rollers, take small jumps on and off the side of the piste, and practise jumping on the move. Be sure to practise landing square in the middle of your skis.
This might feel trivial now, but just wait until you’re launching 20-footers en-route to après-ski… We can almost smell the Insta likes.
Top Tip: If the tips of your skis land first then your weight is too far forward, if your tails land first, then your weight is too far back. Try to land with your skis completely flat to the snow and absorb the impact by flexing your ankles, knees and hips.
Image: Arc’teryx
Find Your Pop
Now, get yourself to the park and find a kicker you feel comfortable on. Don’t worry about the park kids throwing shapes all around you, you’ve got your eyes on a big rocky prize. Learning to pop off a kicker will ensure you stay balanced in the air when you get to a cliff.
Approach the jump with your knees, ankles, and hips flexed in a normal ski position.
As you approach the lip of the kicker, ready yourself to jump (or ‘pop’) up and forwards off the lip.
Time the extension of your legs with the moment you take off, think about jumping up and forwards.
Imagine your skis arcing through the air and try to keep your hips over your toes. Tuck your knees up in the air and keep your arms forward.
As you come to land, extend your legs to absorb the impact and flex your knees on contact with the ground. When you land, you should feel the whole ski hit the ground softly.
Image: Samuel Ingles
Scope It Out
Next find a wind lip, pillow, rock or cliff that looks manageable. Remember, a four-foot cliff will feel more like ten-foot once you’re standing above it. So, no matter who’s watching, start small and work your way up.
The Take-Off: Check the take-off and even mark the snow where you plan to jump. It’s a good idea to imagine where you will approach from, it may be that there is a safer route that won’t bring sluff down onto your take-off or landing.
The Landing: Check how steep your landing is (try and avoid landing on the flat) and whether there are any obstacles to avoid. You might want to check the snow depth with a probe and work out if the landing will be soft or firm.
The Run-Out: Check if there is space for you to carry speed on landing or whether you need to shave off speed quickly. If you do crash, is there a clear run-out for your tomahawk?
Time For Take-Off
Now you’re all set, it’s time to step up. Be sure to manage your speed – you need enough to clear the cliff and any rock below it. If you manage a strong pop, you should be able to carry enough momentum without absolutely hooning it in, (extra style points if you can incorporate a few turns before you take-off).
On your approach, set your feet shoulder width apart and prepare to pop off the edge. Take a deep breath, say a prayer, and go for it! Tuck your knees up and keep your arms forward as you spot the landing in front of you.
As you land, extend your legs down to absorb the impact. Try to land as centred as possible on your skis and fight the instinct to lean back on your heels. Remember to look up as you shoot forwards on landing and prepare to shut down the speed with a few turns.
Image: Samuel Ingles
Style It Out
The more practise you have taking air, the more comfortable you’ll feel airborne and the more effortless your cliff-hucks will seem to the crowds of gaping onlookers (be sure to claim your send with a compulsory fist pump to make sure they knew it was you).
Once you’re comfortable with a rock or cliff drop, why not try a simple grab or a shifty? You could also try incorporating it into a bigger line from the top to the bottom of the slope.
Keen to get better at scouting and riding a line from top to bottom? Read our guide on how to freeride here.
Do I Need Different Equipment To Drop Cliffs?
Learning to drop cliffs on a powder day is going to be much easier than on firm snow. While skiing on skinny piste skis will of course still work just fine, using a wider freeride or powder ski will make landing and skiing away from your first cliff drop a lot easier.
With a wider platform under your feet and a rocker on the tip and tail, these skis are designed to float and bounce more easily in deep snow. Take a look here at some of our favourite skis for hucking cliffs.
We use cookies on our website to give you the most relevant experience by remembering your preferences and repeat visits. By clicking “Accept All”, you consent to the use of ALL the cookies. However, you may visit "Cookie Settings" to provide a controlled consent.
This website uses cookies to improve your experience while you navigate through the website. Out of these, the cookies that are categorized as necessary are stored on your browser as they are essential for the working of basic functionalities of the website. We also use third-party cookies that help us analyze and understand how you use this website. These cookies will be stored in your browser only with your consent. You also have the option to opt-out of these cookies. But opting out of some of these cookies may affect your browsing experience.
Necessary cookies are absolutely essential for the website to function properly. These cookies ensure basic functionalities and security features of the website, anonymously.
Cookie
Duration
Description
cookielawinfo-checkbox-analytics
11 months
This cookie is set by GDPR Cookie Consent plugin. The cookie is used to store the user consent for the cookies in the category "Analytics".
cookielawinfo-checkbox-functional
11 months
The cookie is set by GDPR cookie consent to record the user consent for the cookies in the category "Functional".
cookielawinfo-checkbox-necessary
11 months
This cookie is set by GDPR Cookie Consent plugin. The cookies is used to store the user consent for the cookies in the category "Necessary".
cookielawinfo-checkbox-others
11 months
This cookie is set by GDPR Cookie Consent plugin. The cookie is used to store the user consent for the cookies in the category "Other.
cookielawinfo-checkbox-performance
11 months
This cookie is set by GDPR Cookie Consent plugin. The cookie is used to store the user consent for the cookies in the category "Performance".
viewed_cookie_policy
11 months
The cookie is set by the GDPR Cookie Consent plugin and is used to store whether or not user has consented to the use of cookies. It does not store any personal data.
Functional cookies help to perform certain functionalities like sharing the content of the website on social media platforms, collect feedbacks, and other third-party features.
Performance cookies are used to understand and analyze the key performance indexes of the website which helps in delivering a better user experience for the visitors.
Analytical cookies are used to understand how visitors interact with the website. These cookies help provide information on metrics the number of visitors, bounce rate, traffic source, etc.
Advertisement cookies are used to provide visitors with relevant ads and marketing campaigns. These cookies track visitors across websites and collect information to provide customized ads.
Other uncategorized cookies are those that are being analyzed and have not been classified into a category as yet.
Newsletter Terms & Conditions
Please enter your email so we can keep you updated with news, features and the latest offers. If you are not interested you can unsubscribe at any time. We will never sell your data and you'll only get messages from us and our partners whose products and services we think you'll enjoy.